oriolrius.cat

Des del 2000 compartiendo sobre…

Category: Technology

Home heating using Panstamp (Arduino + TI C1101) and SSR

Reading time: 3 – 5 minutes

Last weekend I worked on setting up home heaters using Panstamp. Panstamp is an Arduino board with Texas Instruments radio. Next winter we’re going to control our home heater using connected internet devices like the laptop, tablet o mobile phones. In this post I only want to share some pictures about the process to install the electronics inside the heaters changing the old electronic boards with new custom ones.

The parts:

  • AC/DC transformer, outputs 5V. It’s really cheap, in this case free because I have more than 20 of them from old projects.

acdc5v_

  • A small custom PCB designed and made by Daniel Berenguer, the owner of Panstamp. Thanks again Daniel. I bought the PCBs and parts for around 10€ each one.

IMG_20130923_114830

  • TMP36 temperature sensor. It costs about 1,5€ each one.

IMG_20130923_114814

  • Solid state relay (SSR) bought in Alied Express web site for less than 5€.

ssr

The process:

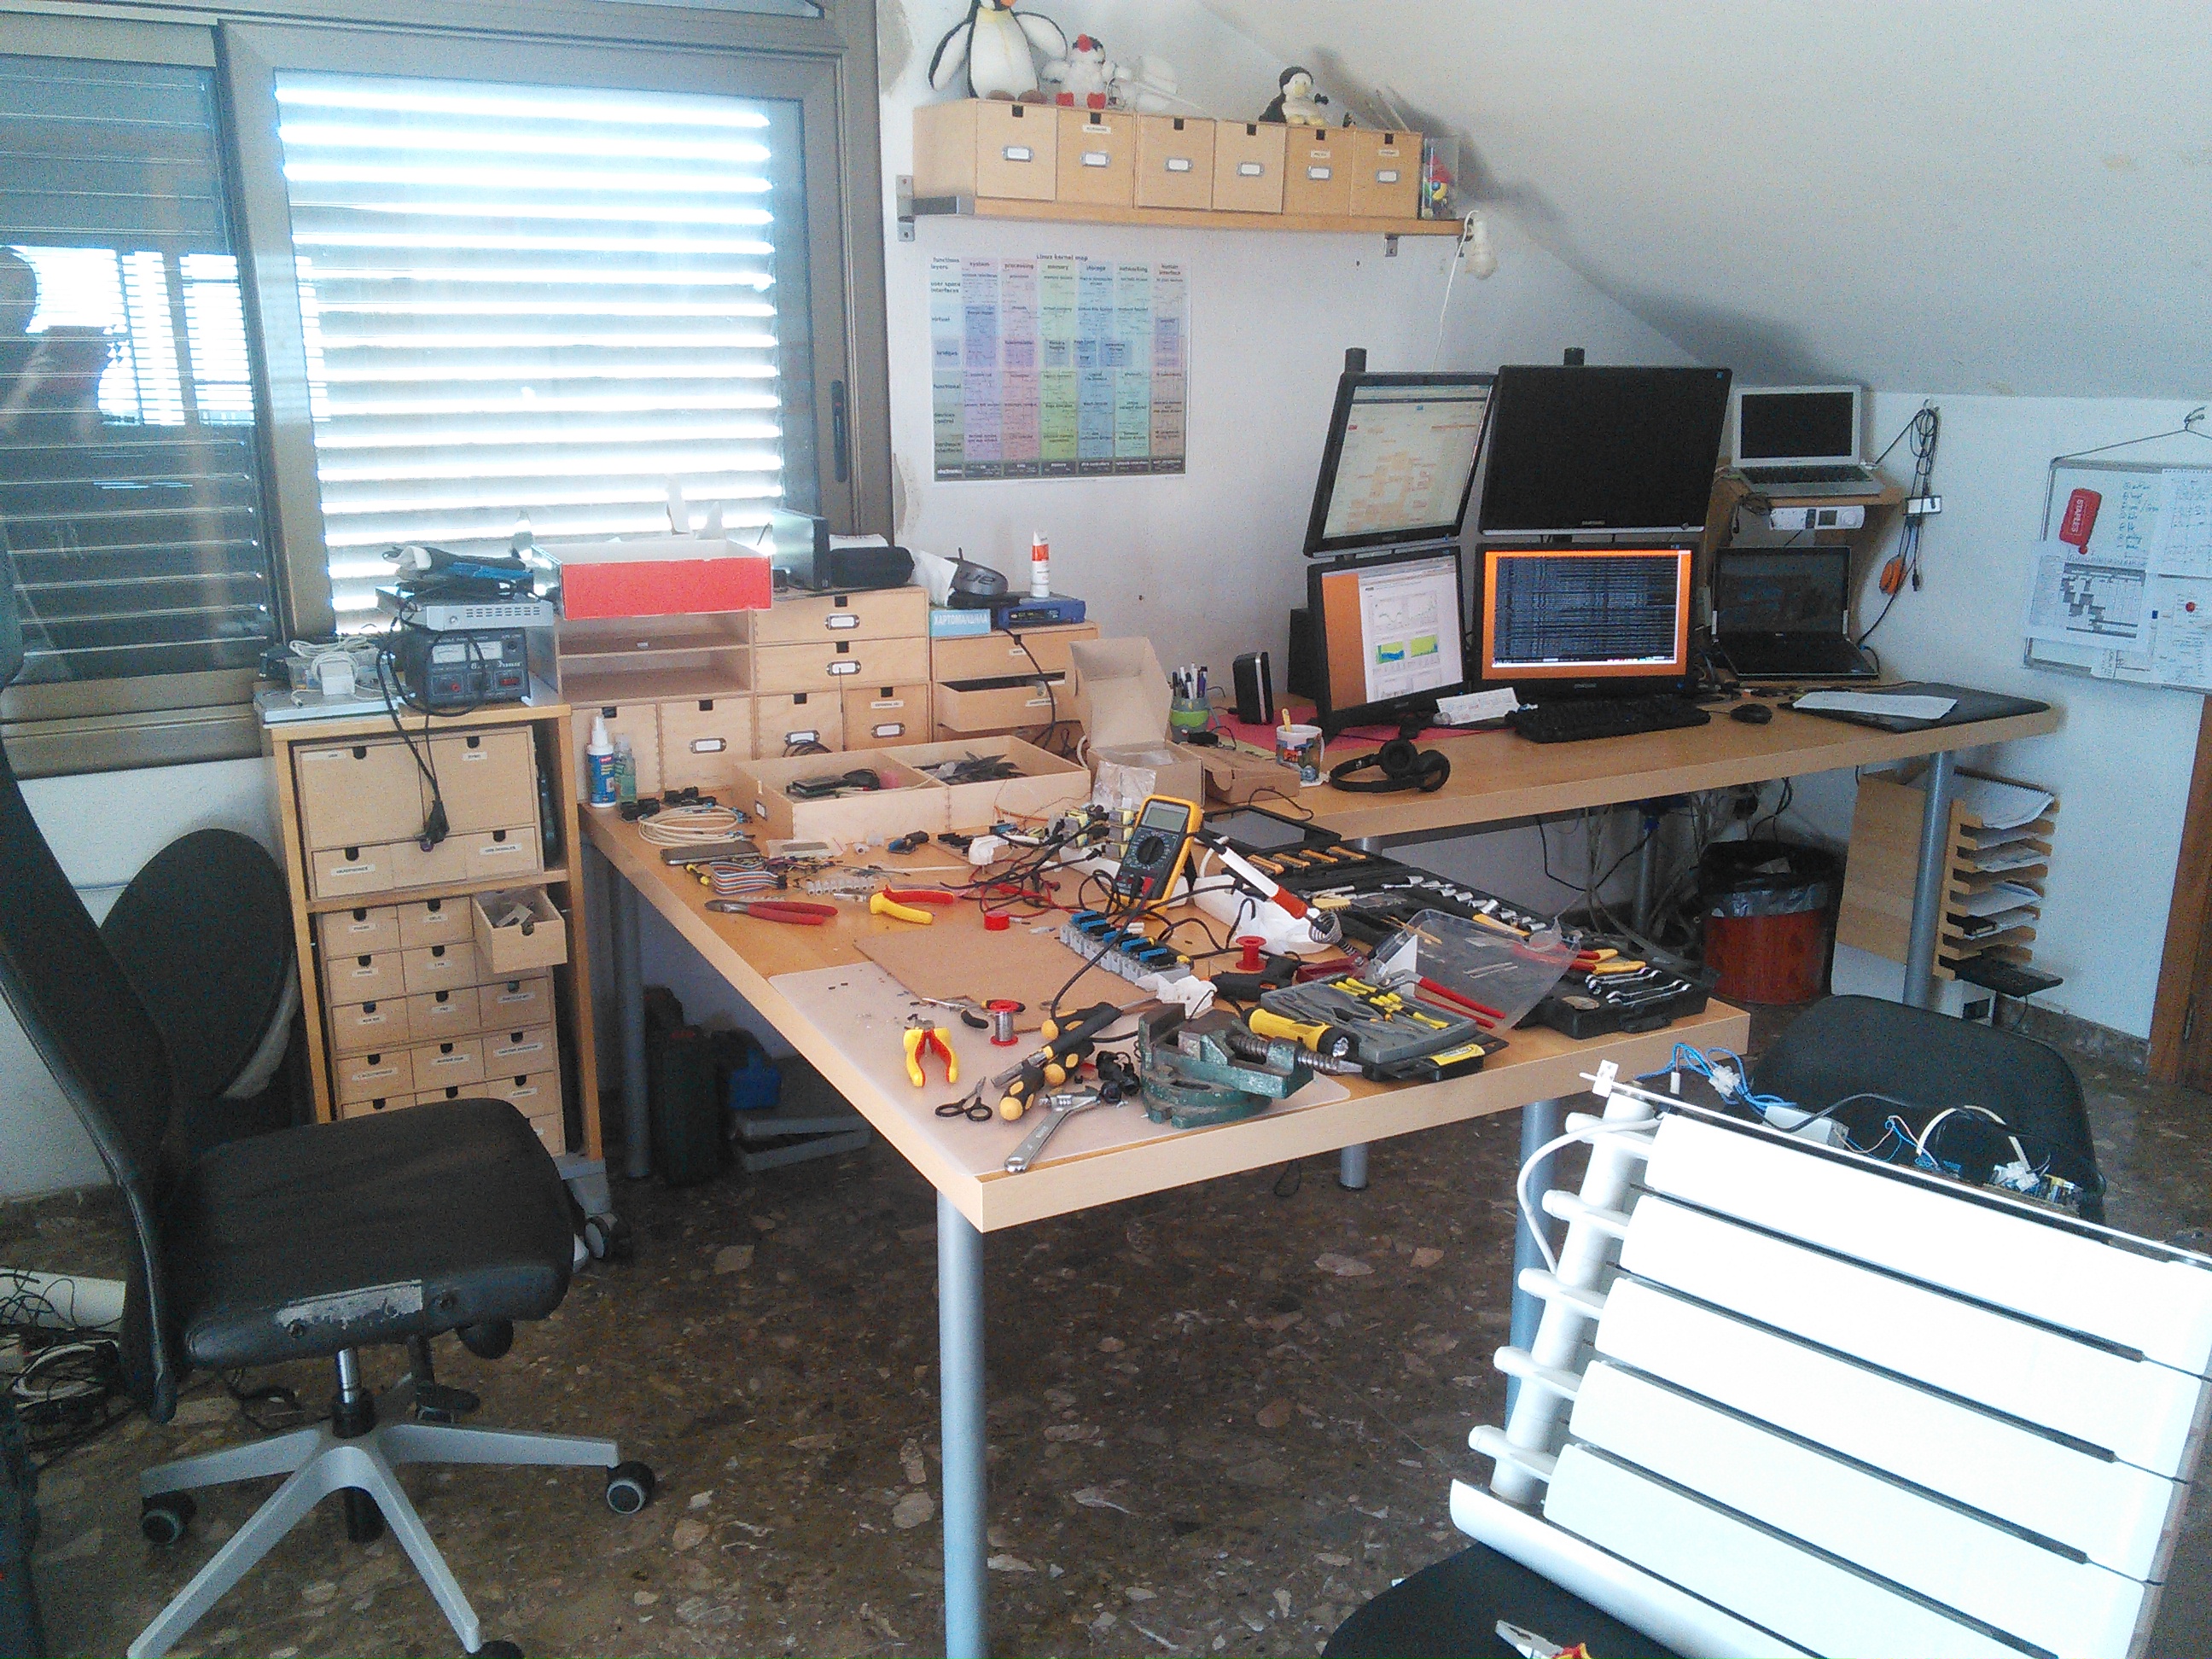
I used a lot of tools, because DIY aren’t my strong hability.

IMG_20130921_141640

Double-head tape and hot-blue gun are need…

IMG_20130921_133746

because I want to use a cork base under the PSU and PCB

IMG_20130921_133723
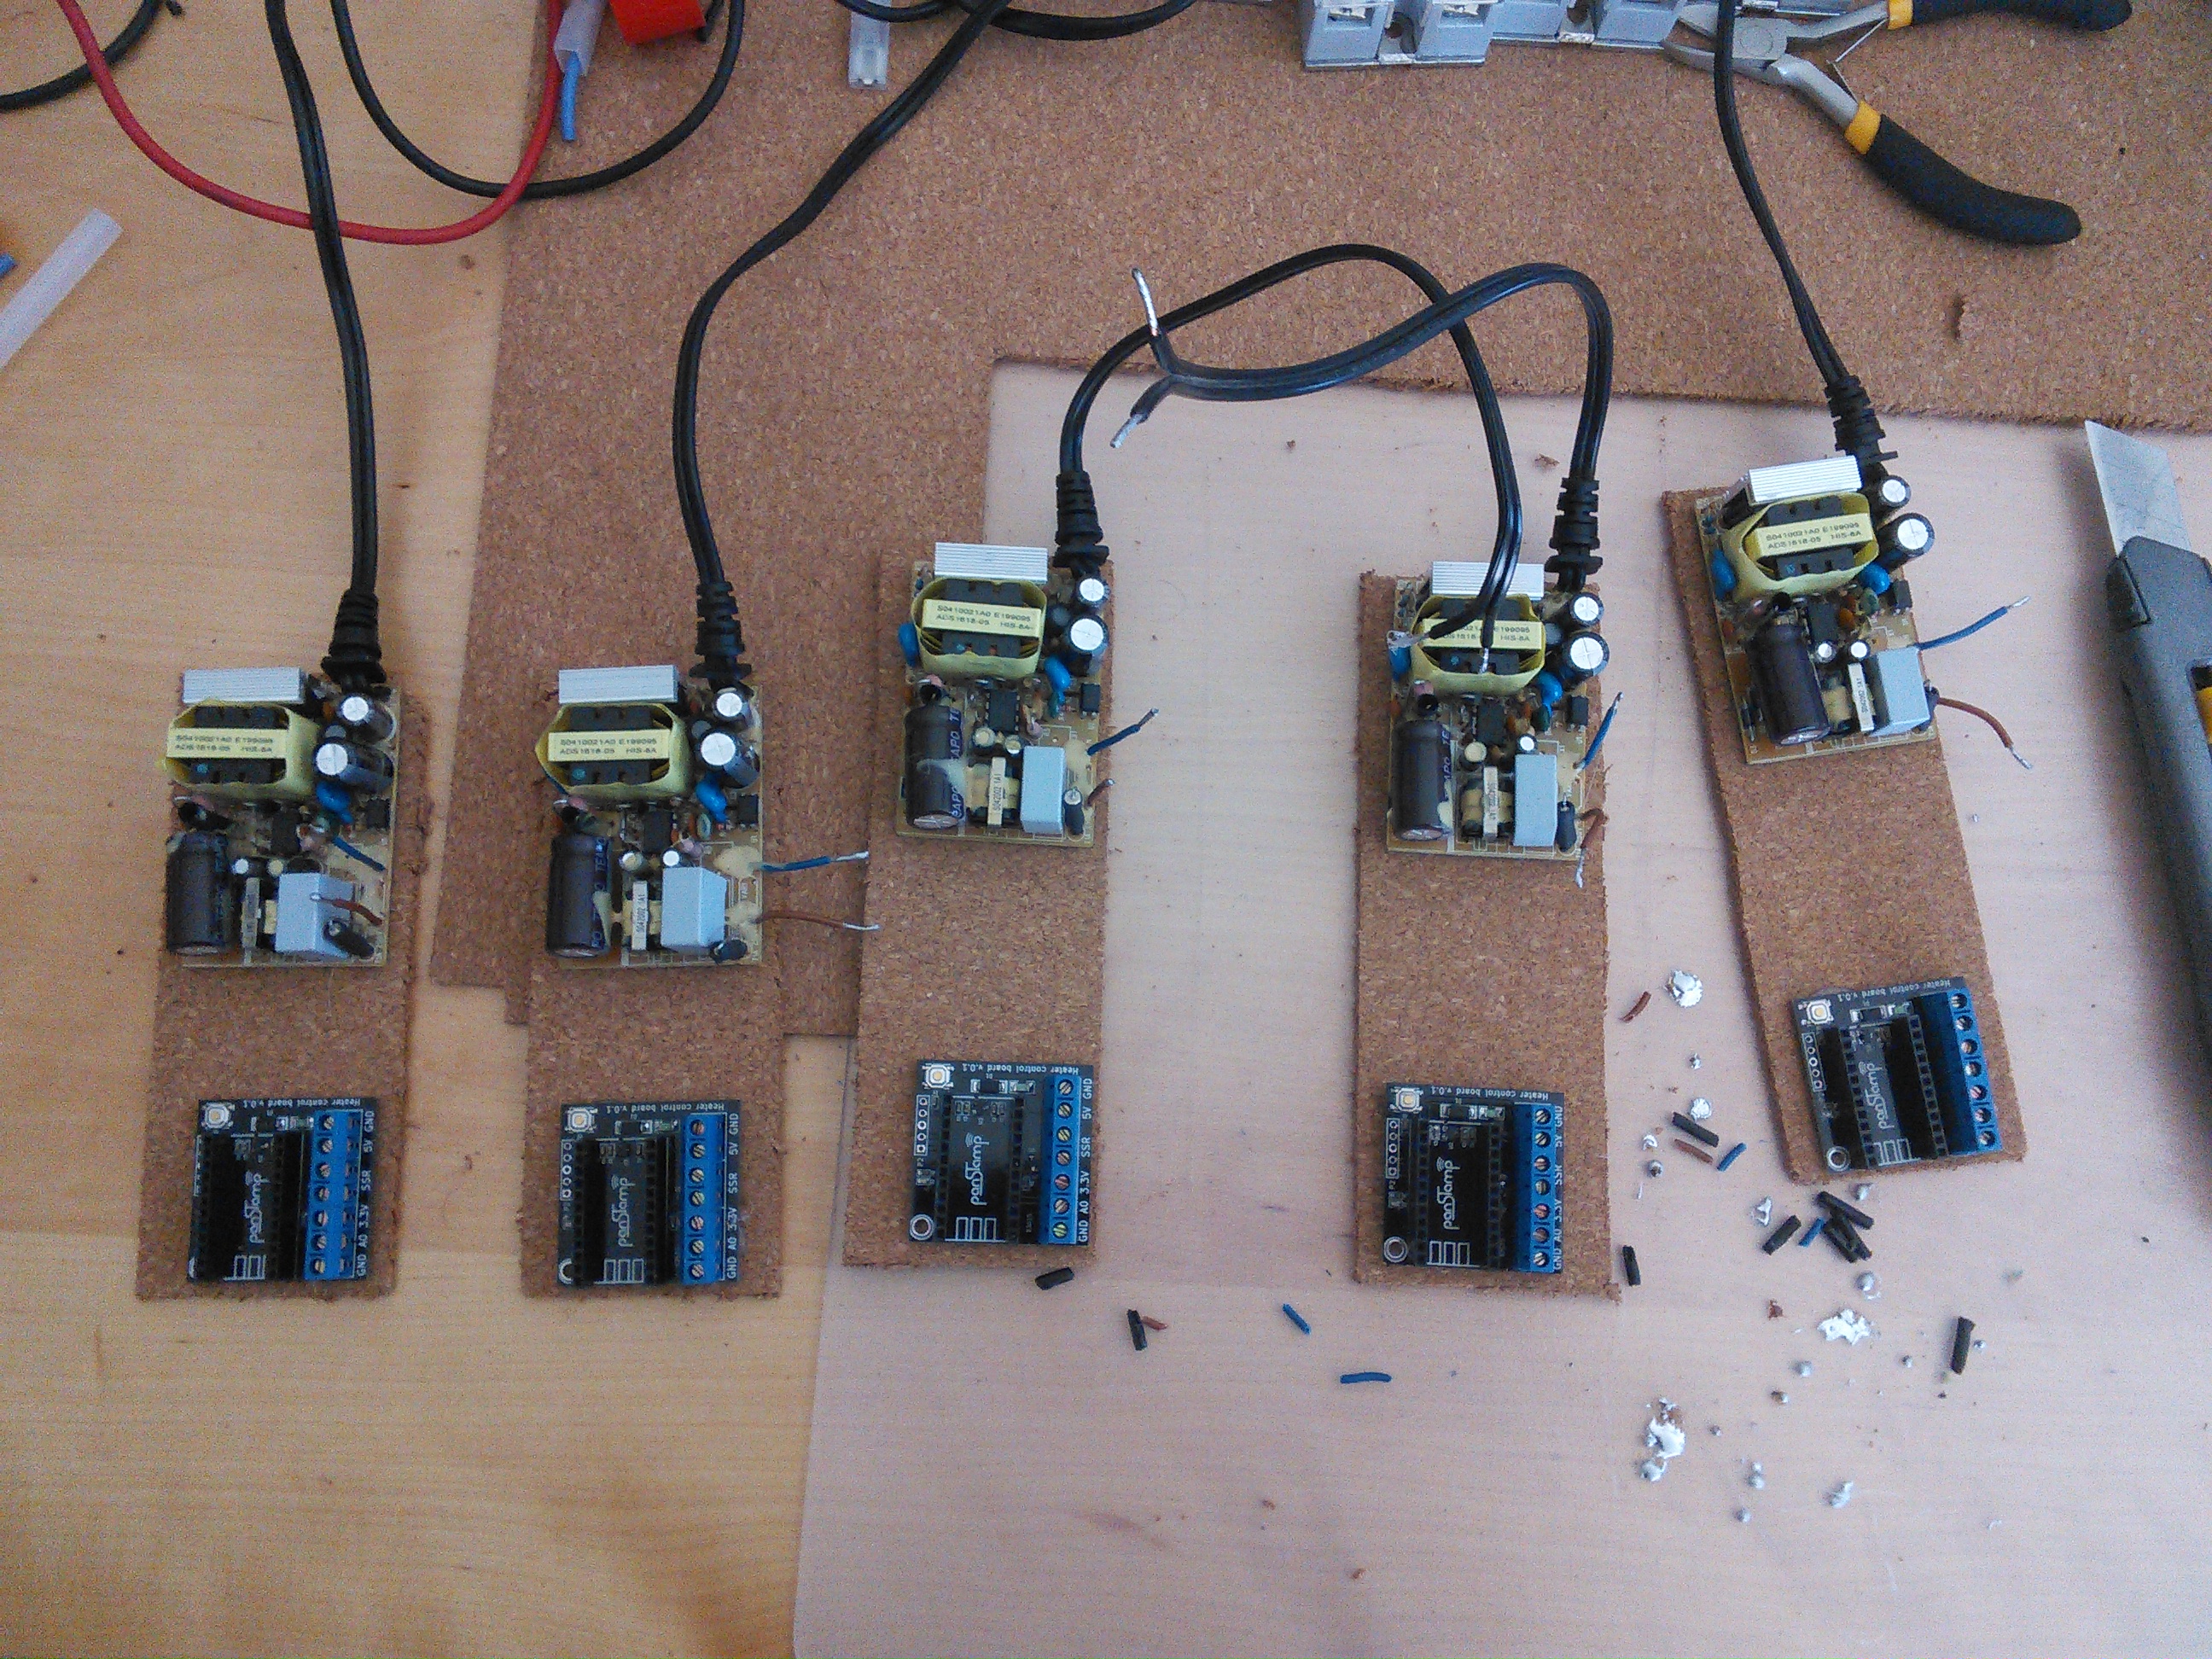
Parallelization of the last process
IMG_20130921_143116Using a cutter I got the units
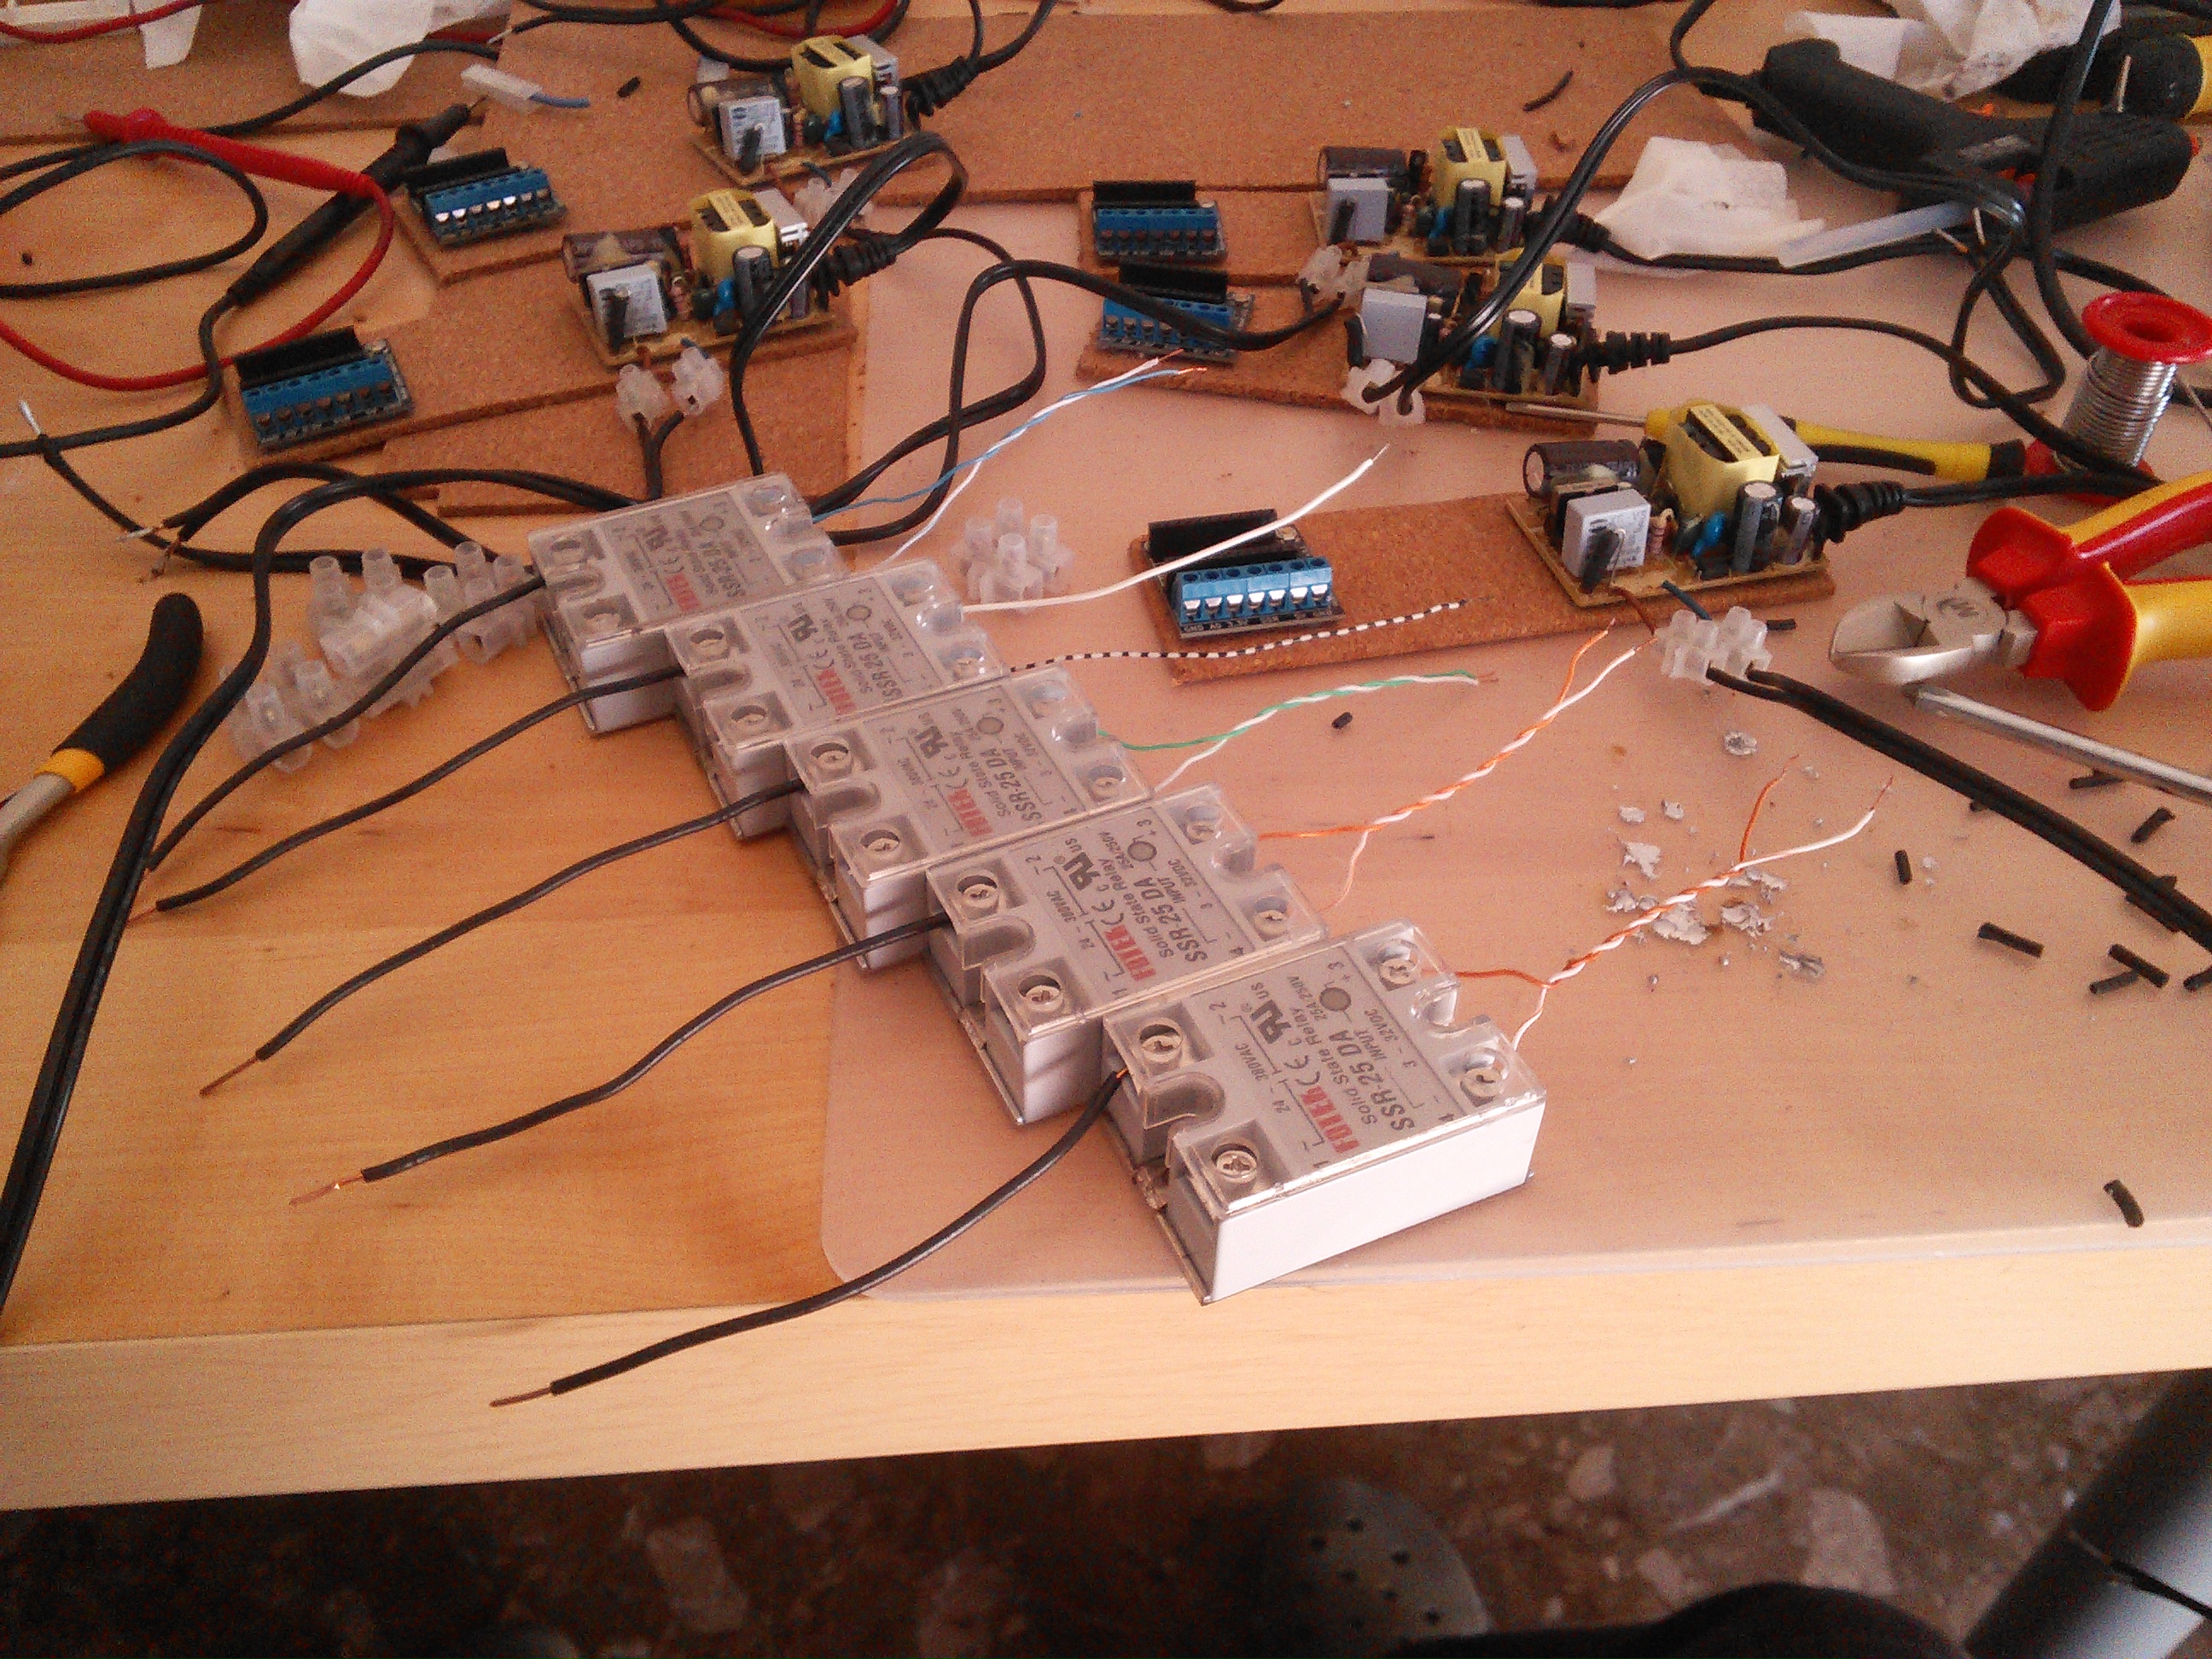
IMG_20130921_143434SSR setup
IMG_20130921_164651
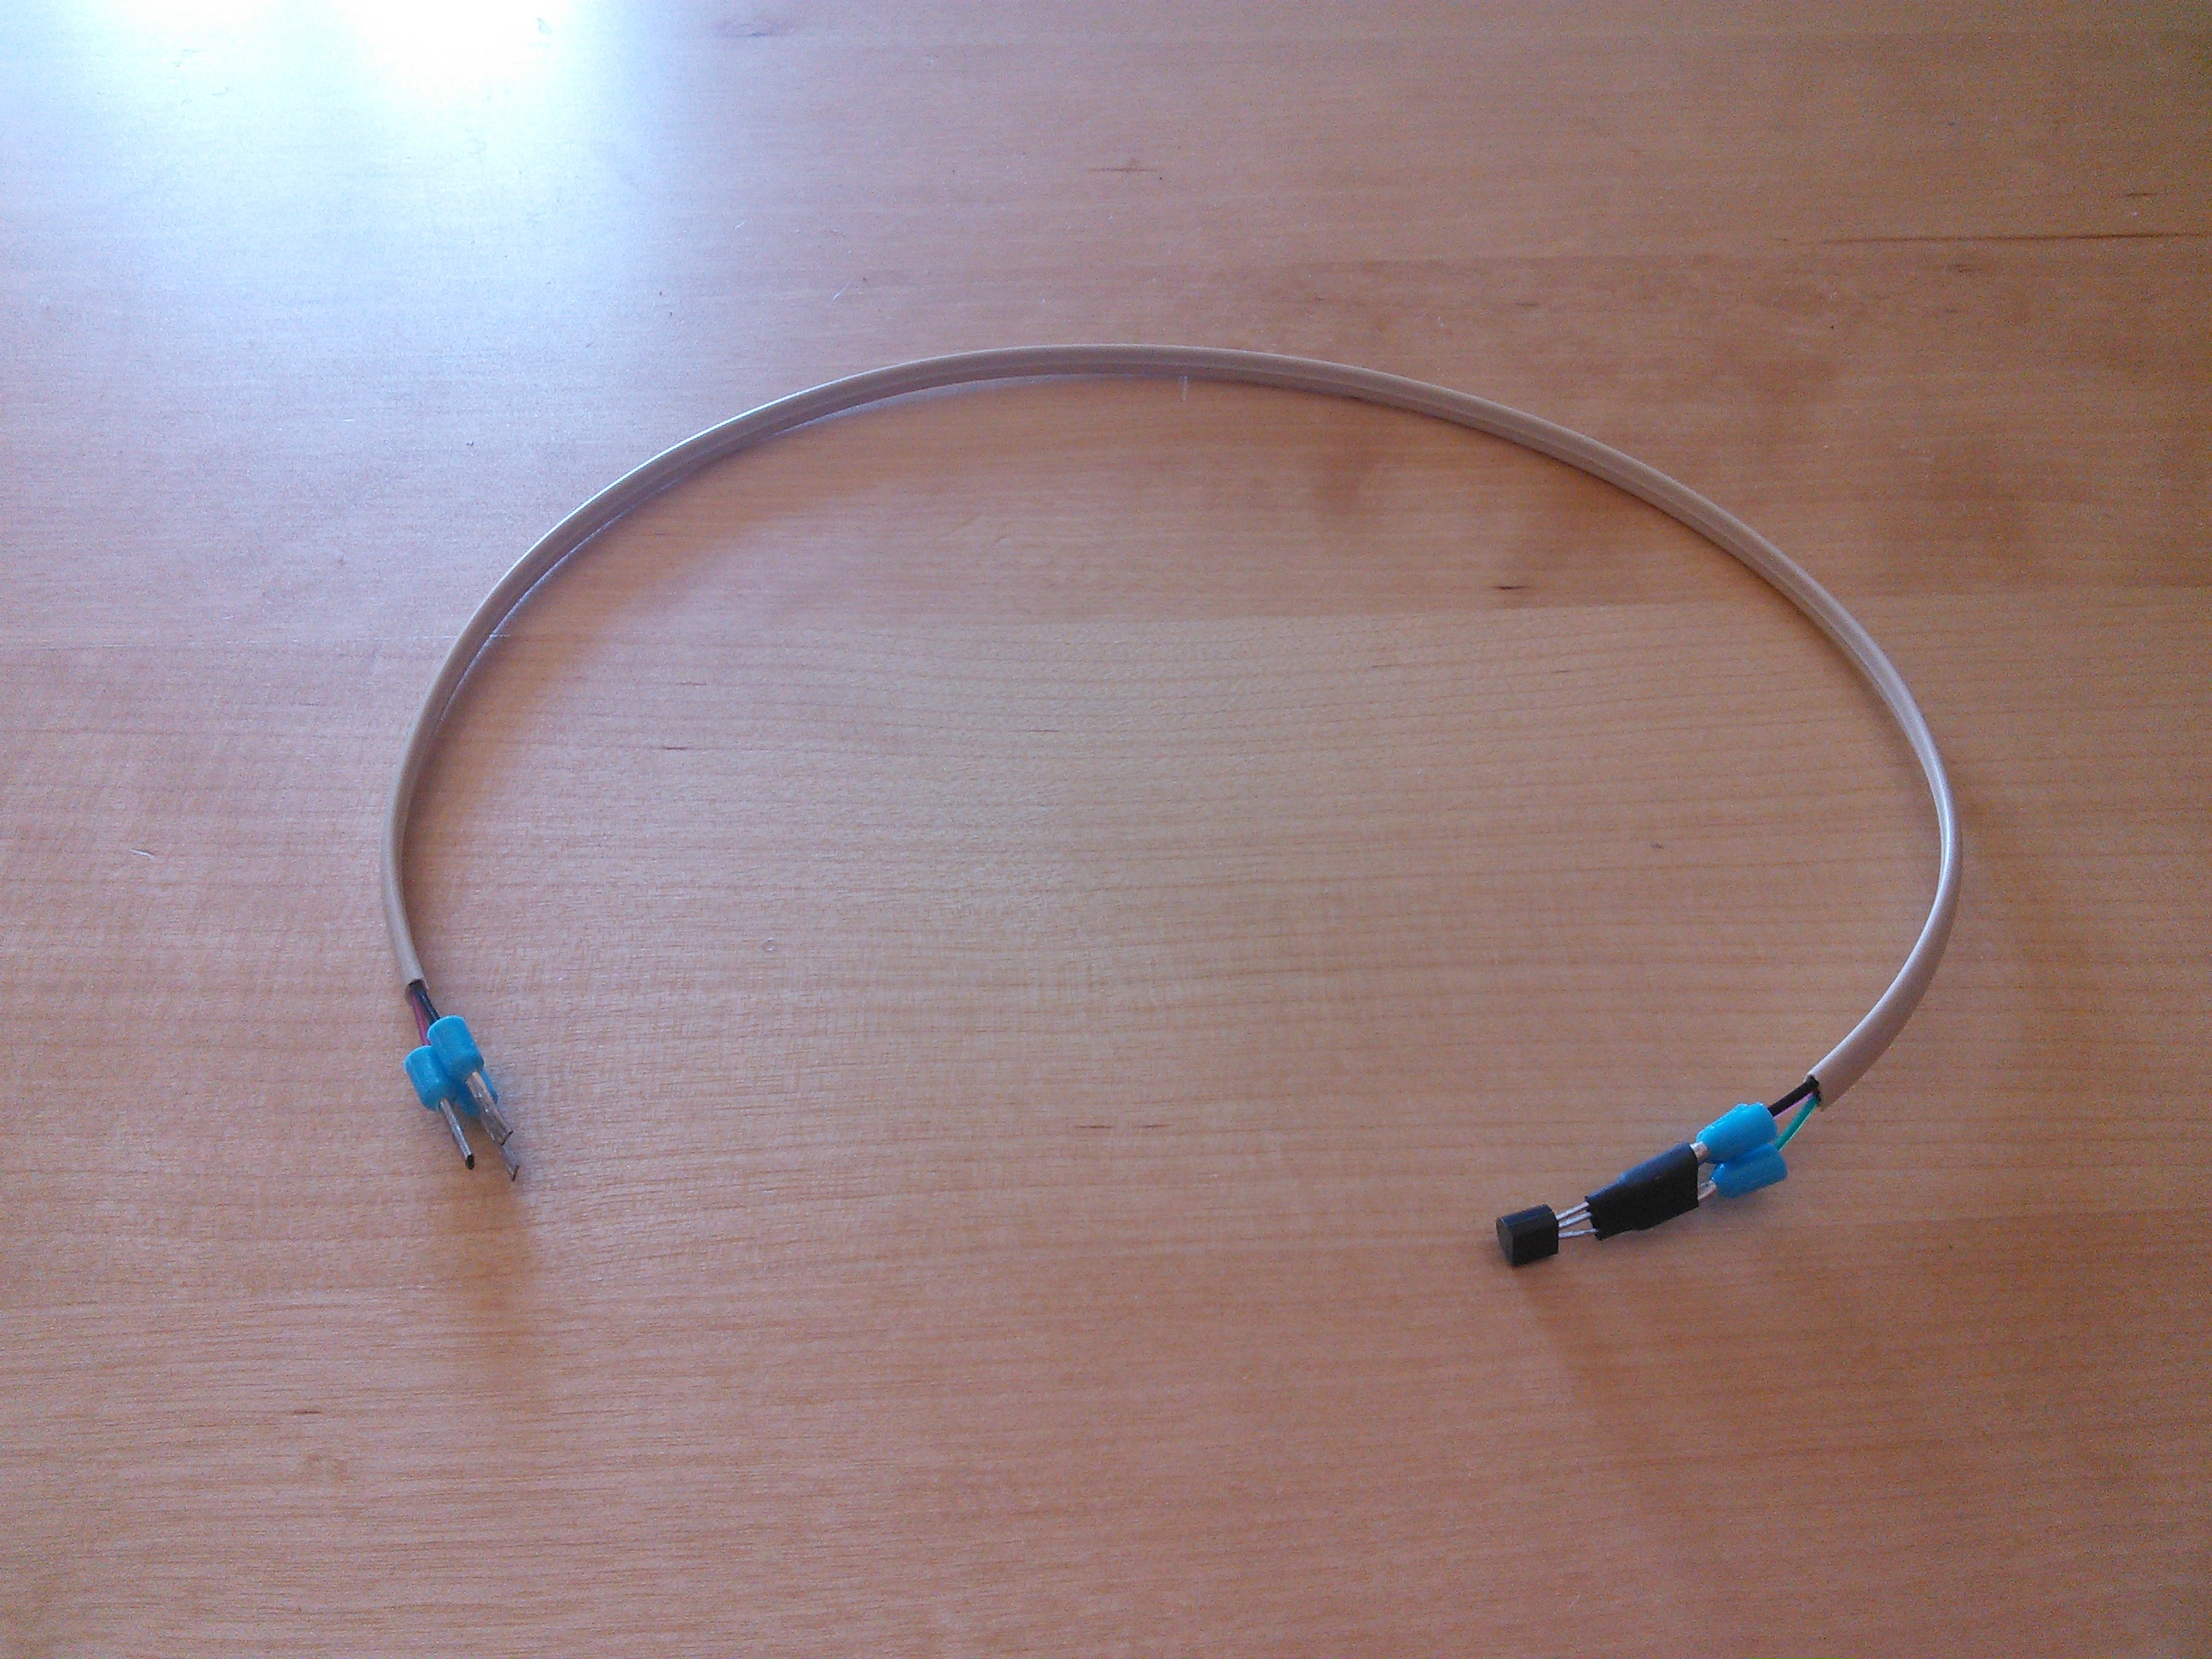
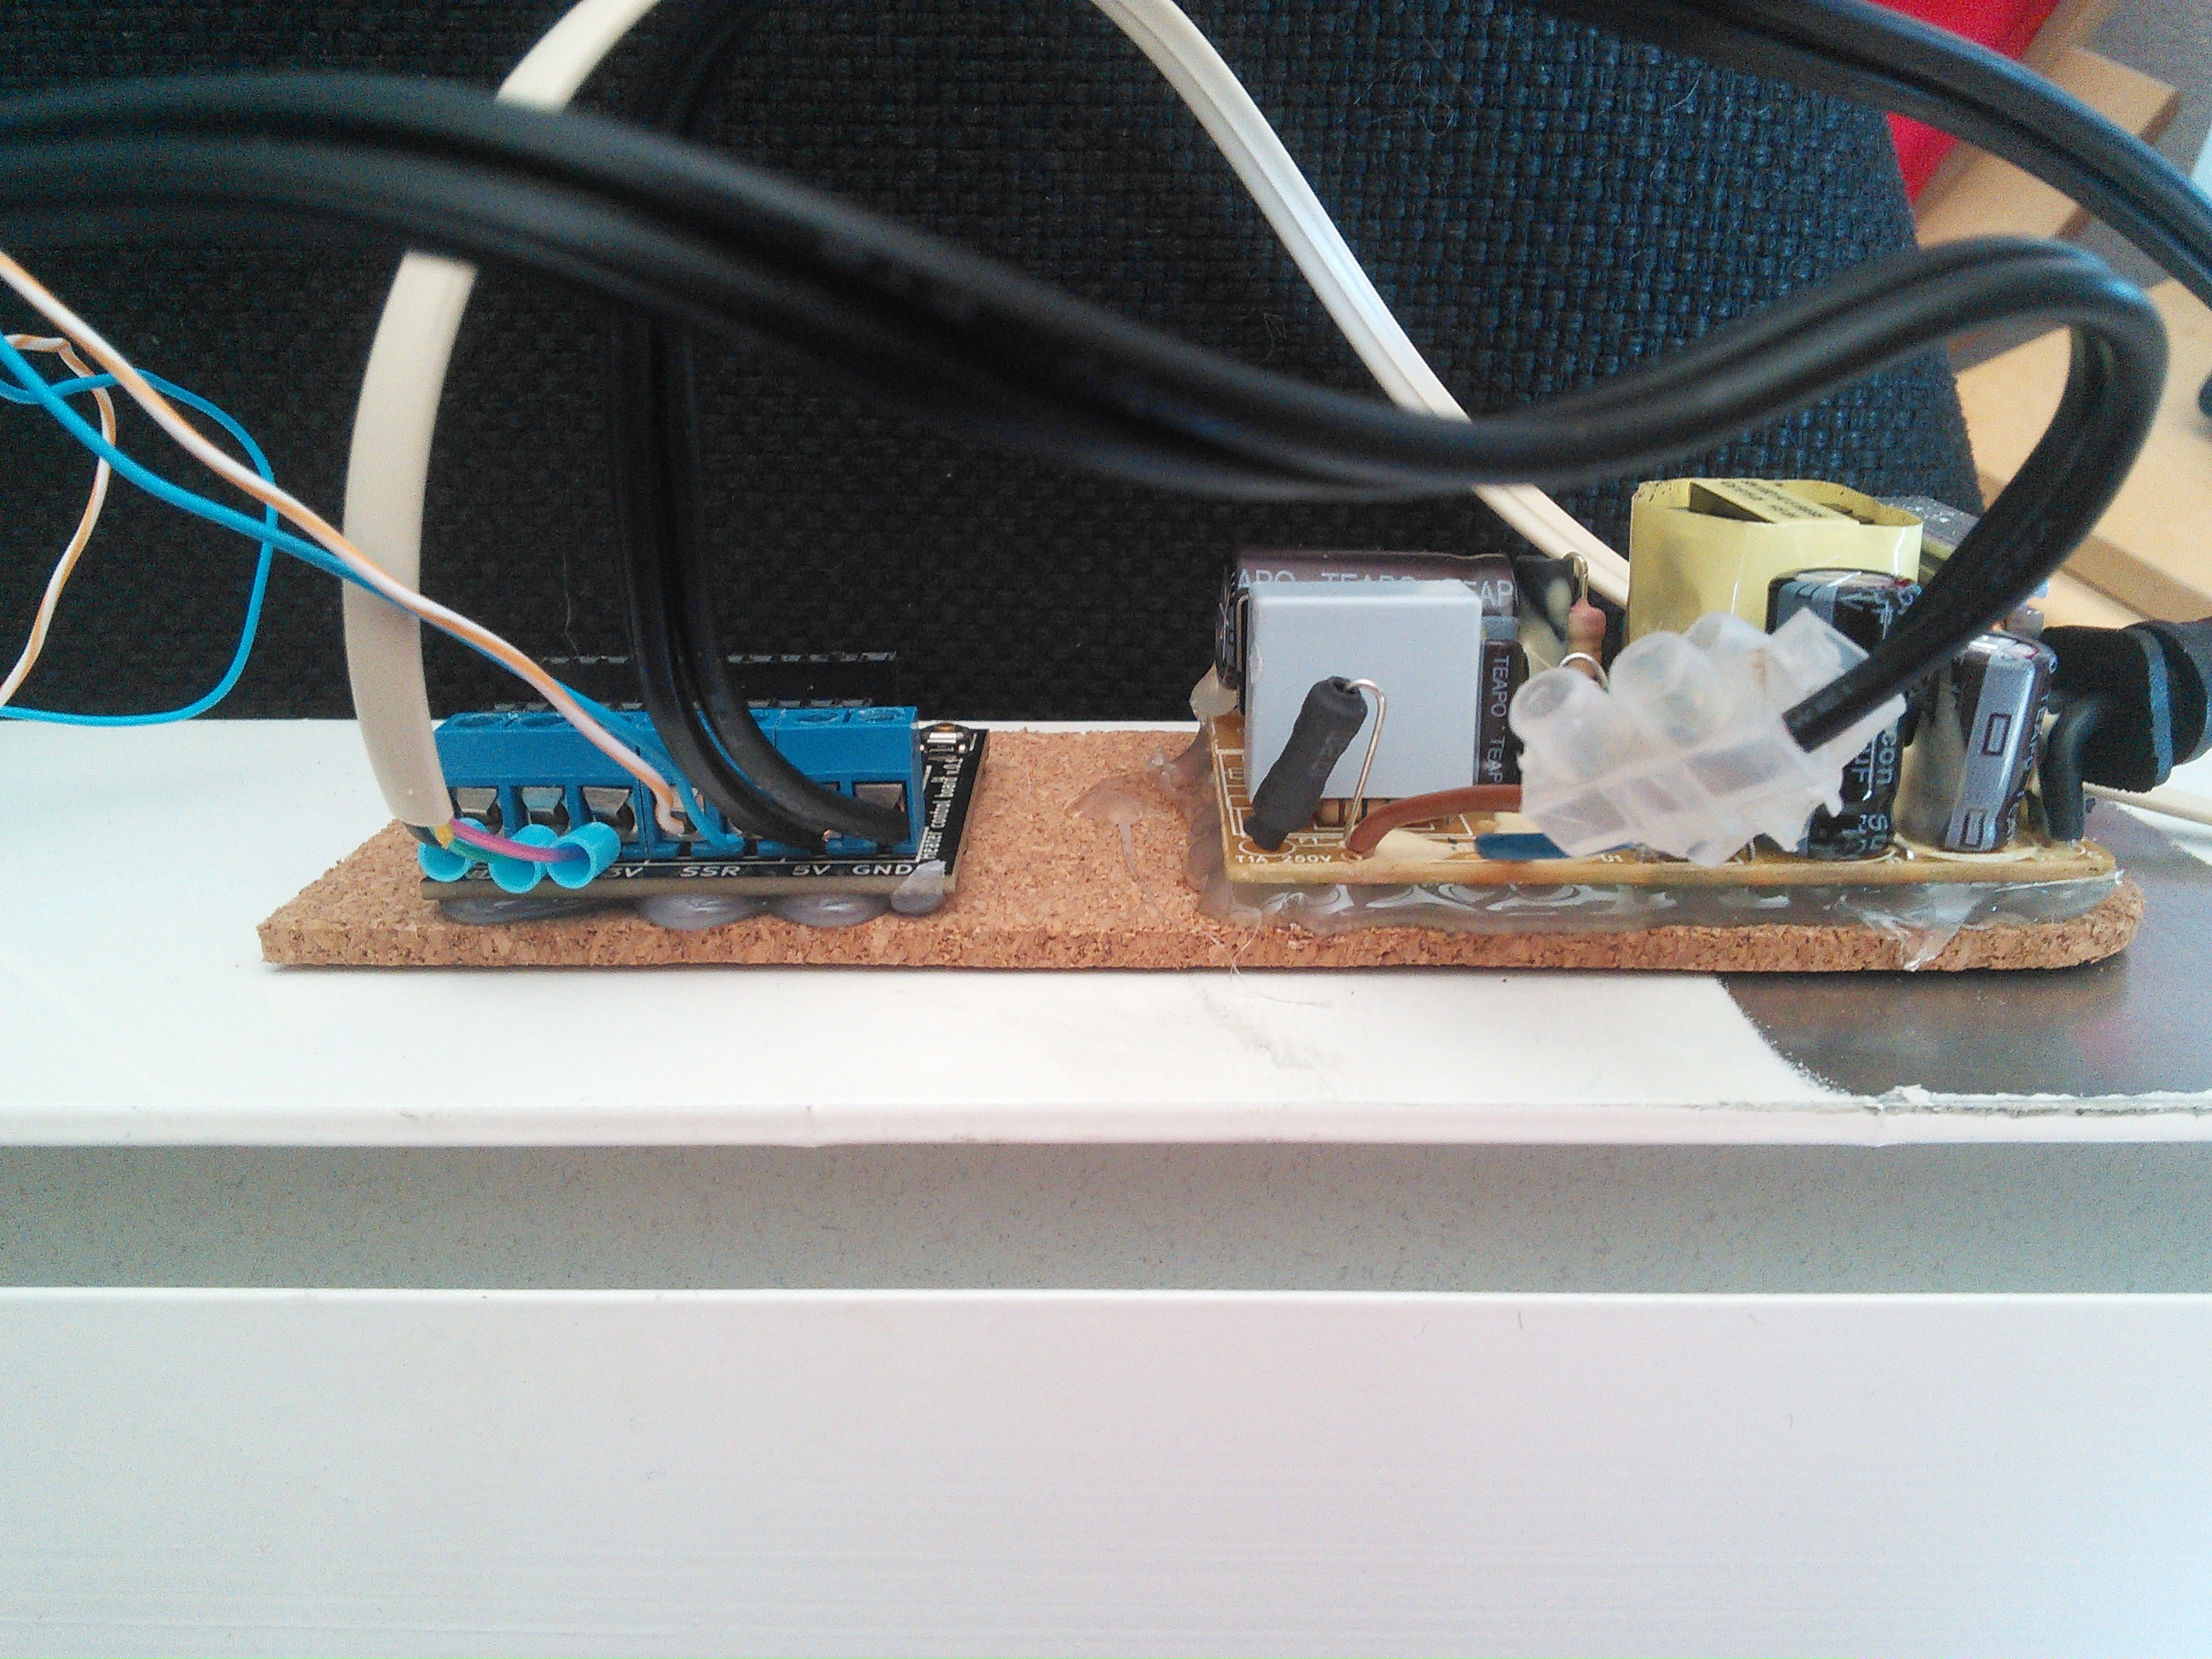
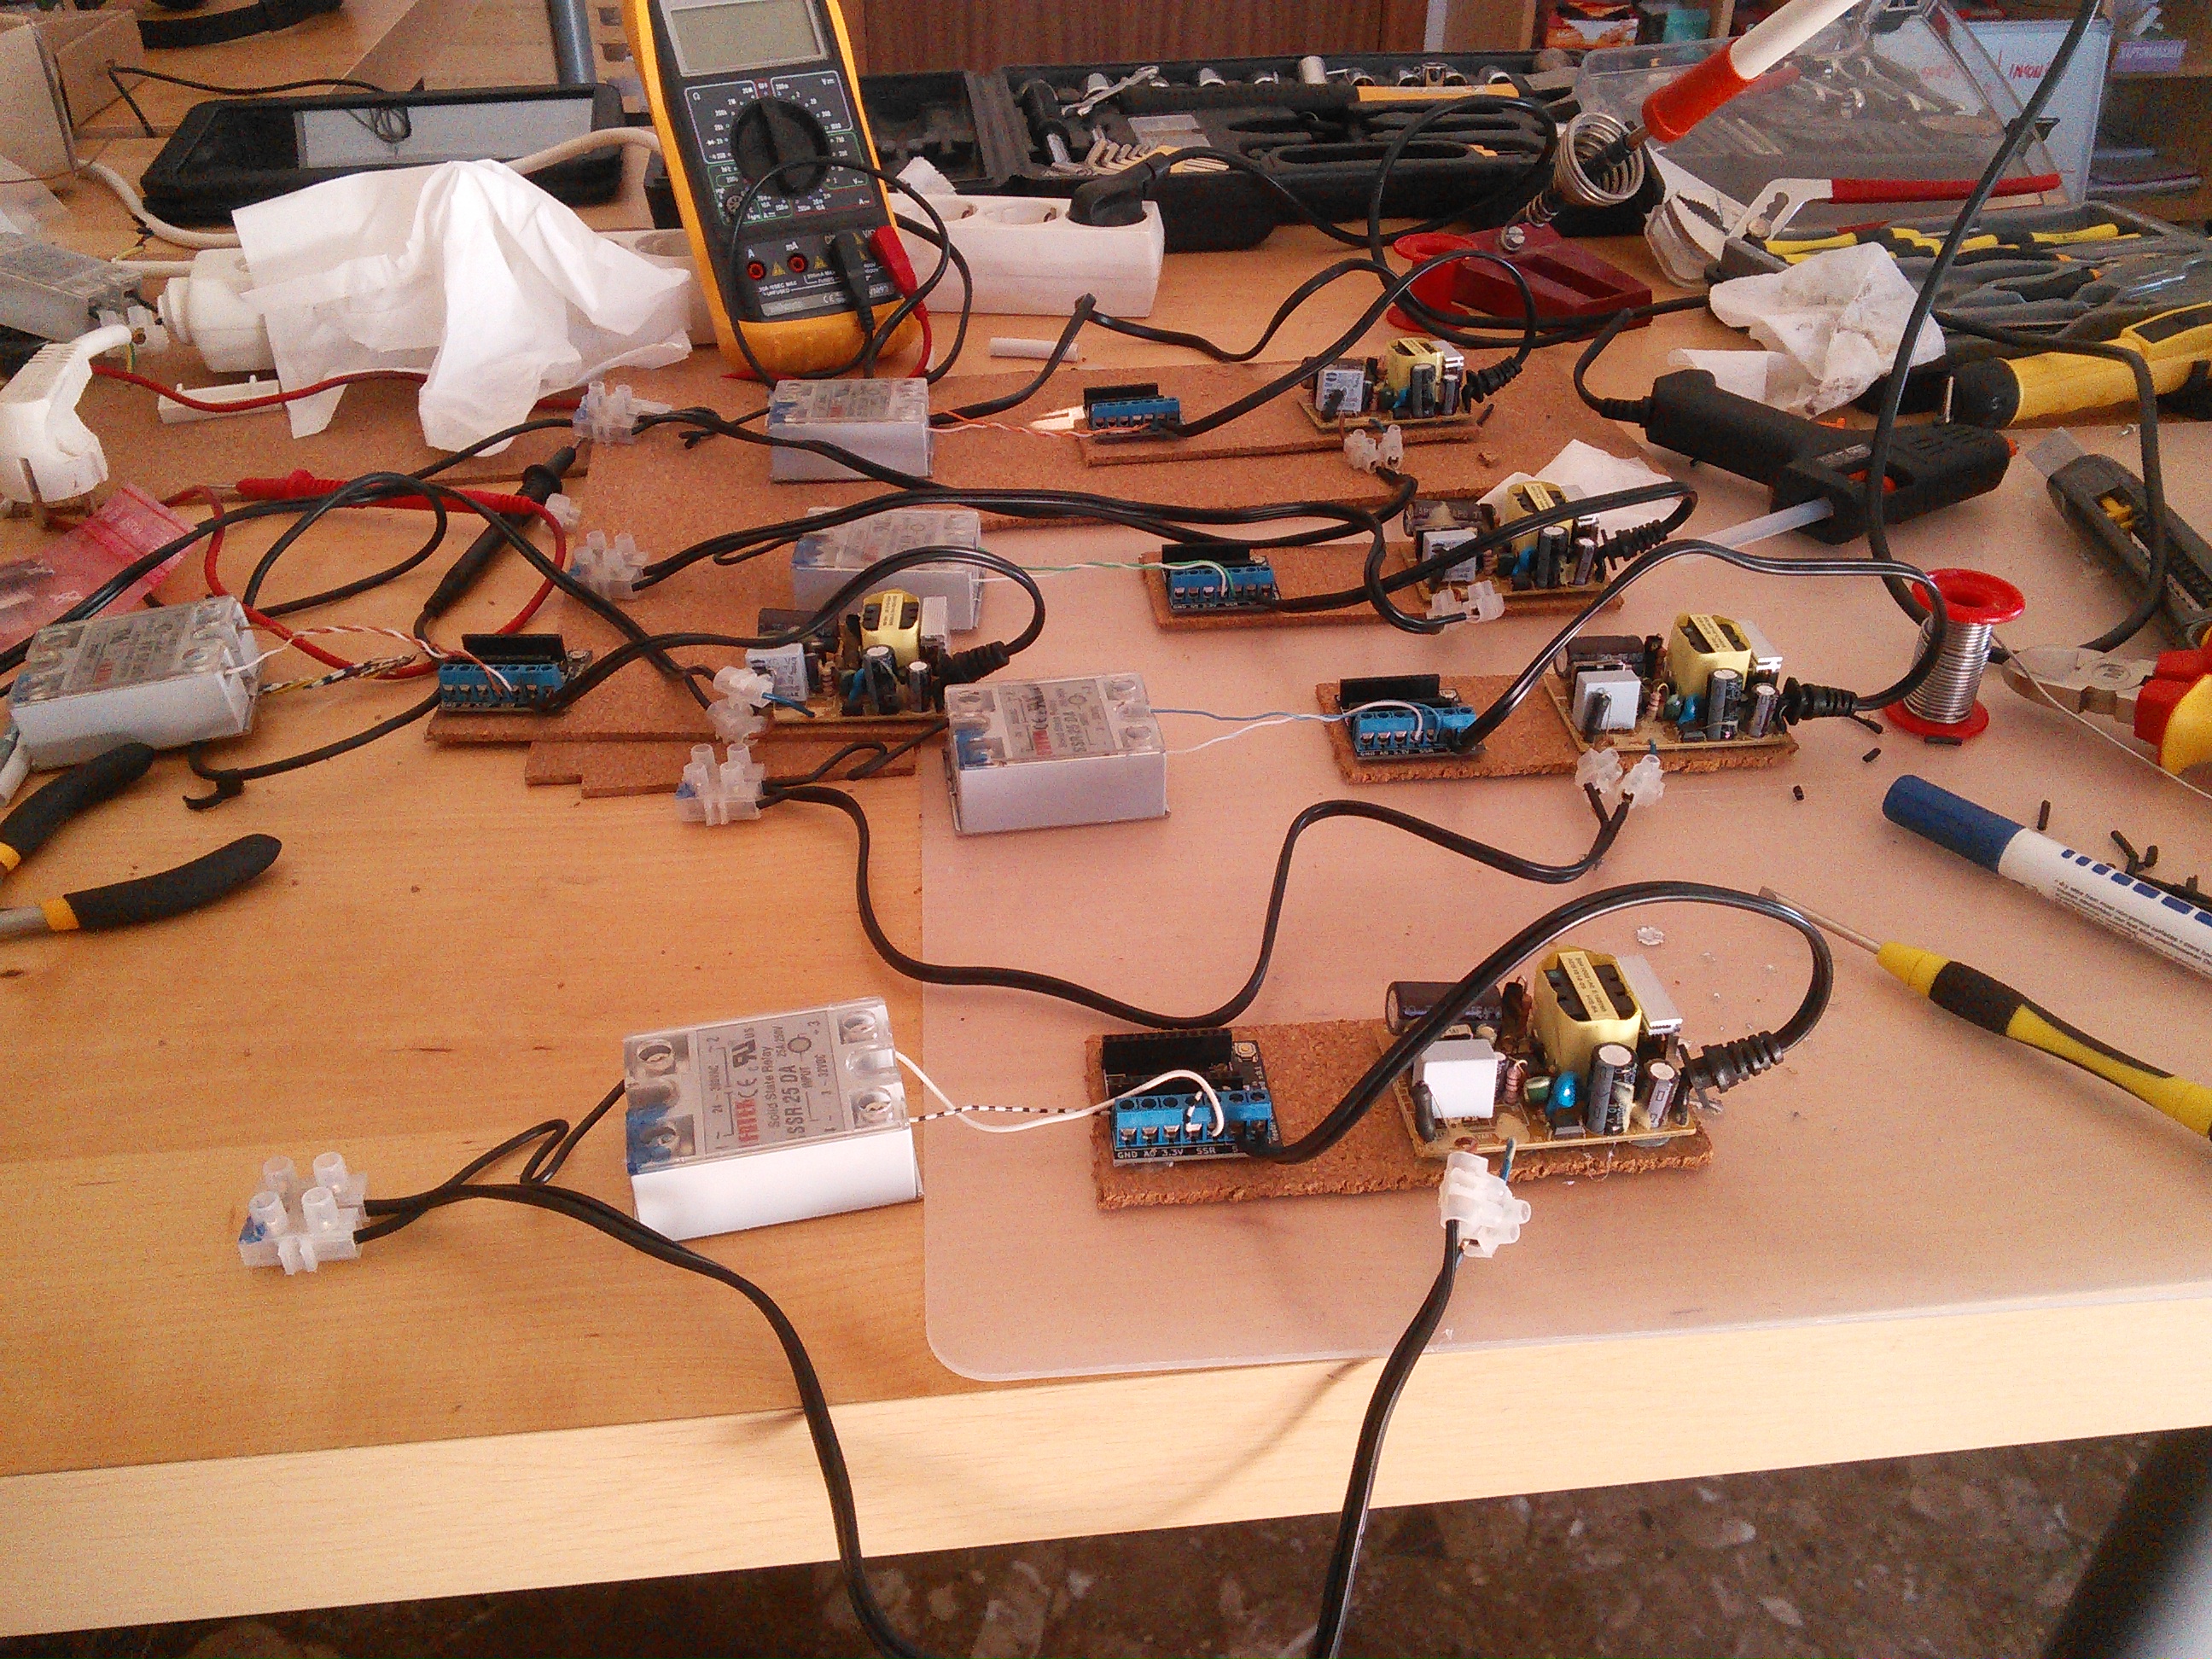
connecting SSR, PCB and PSU
IMG_20130921_170711
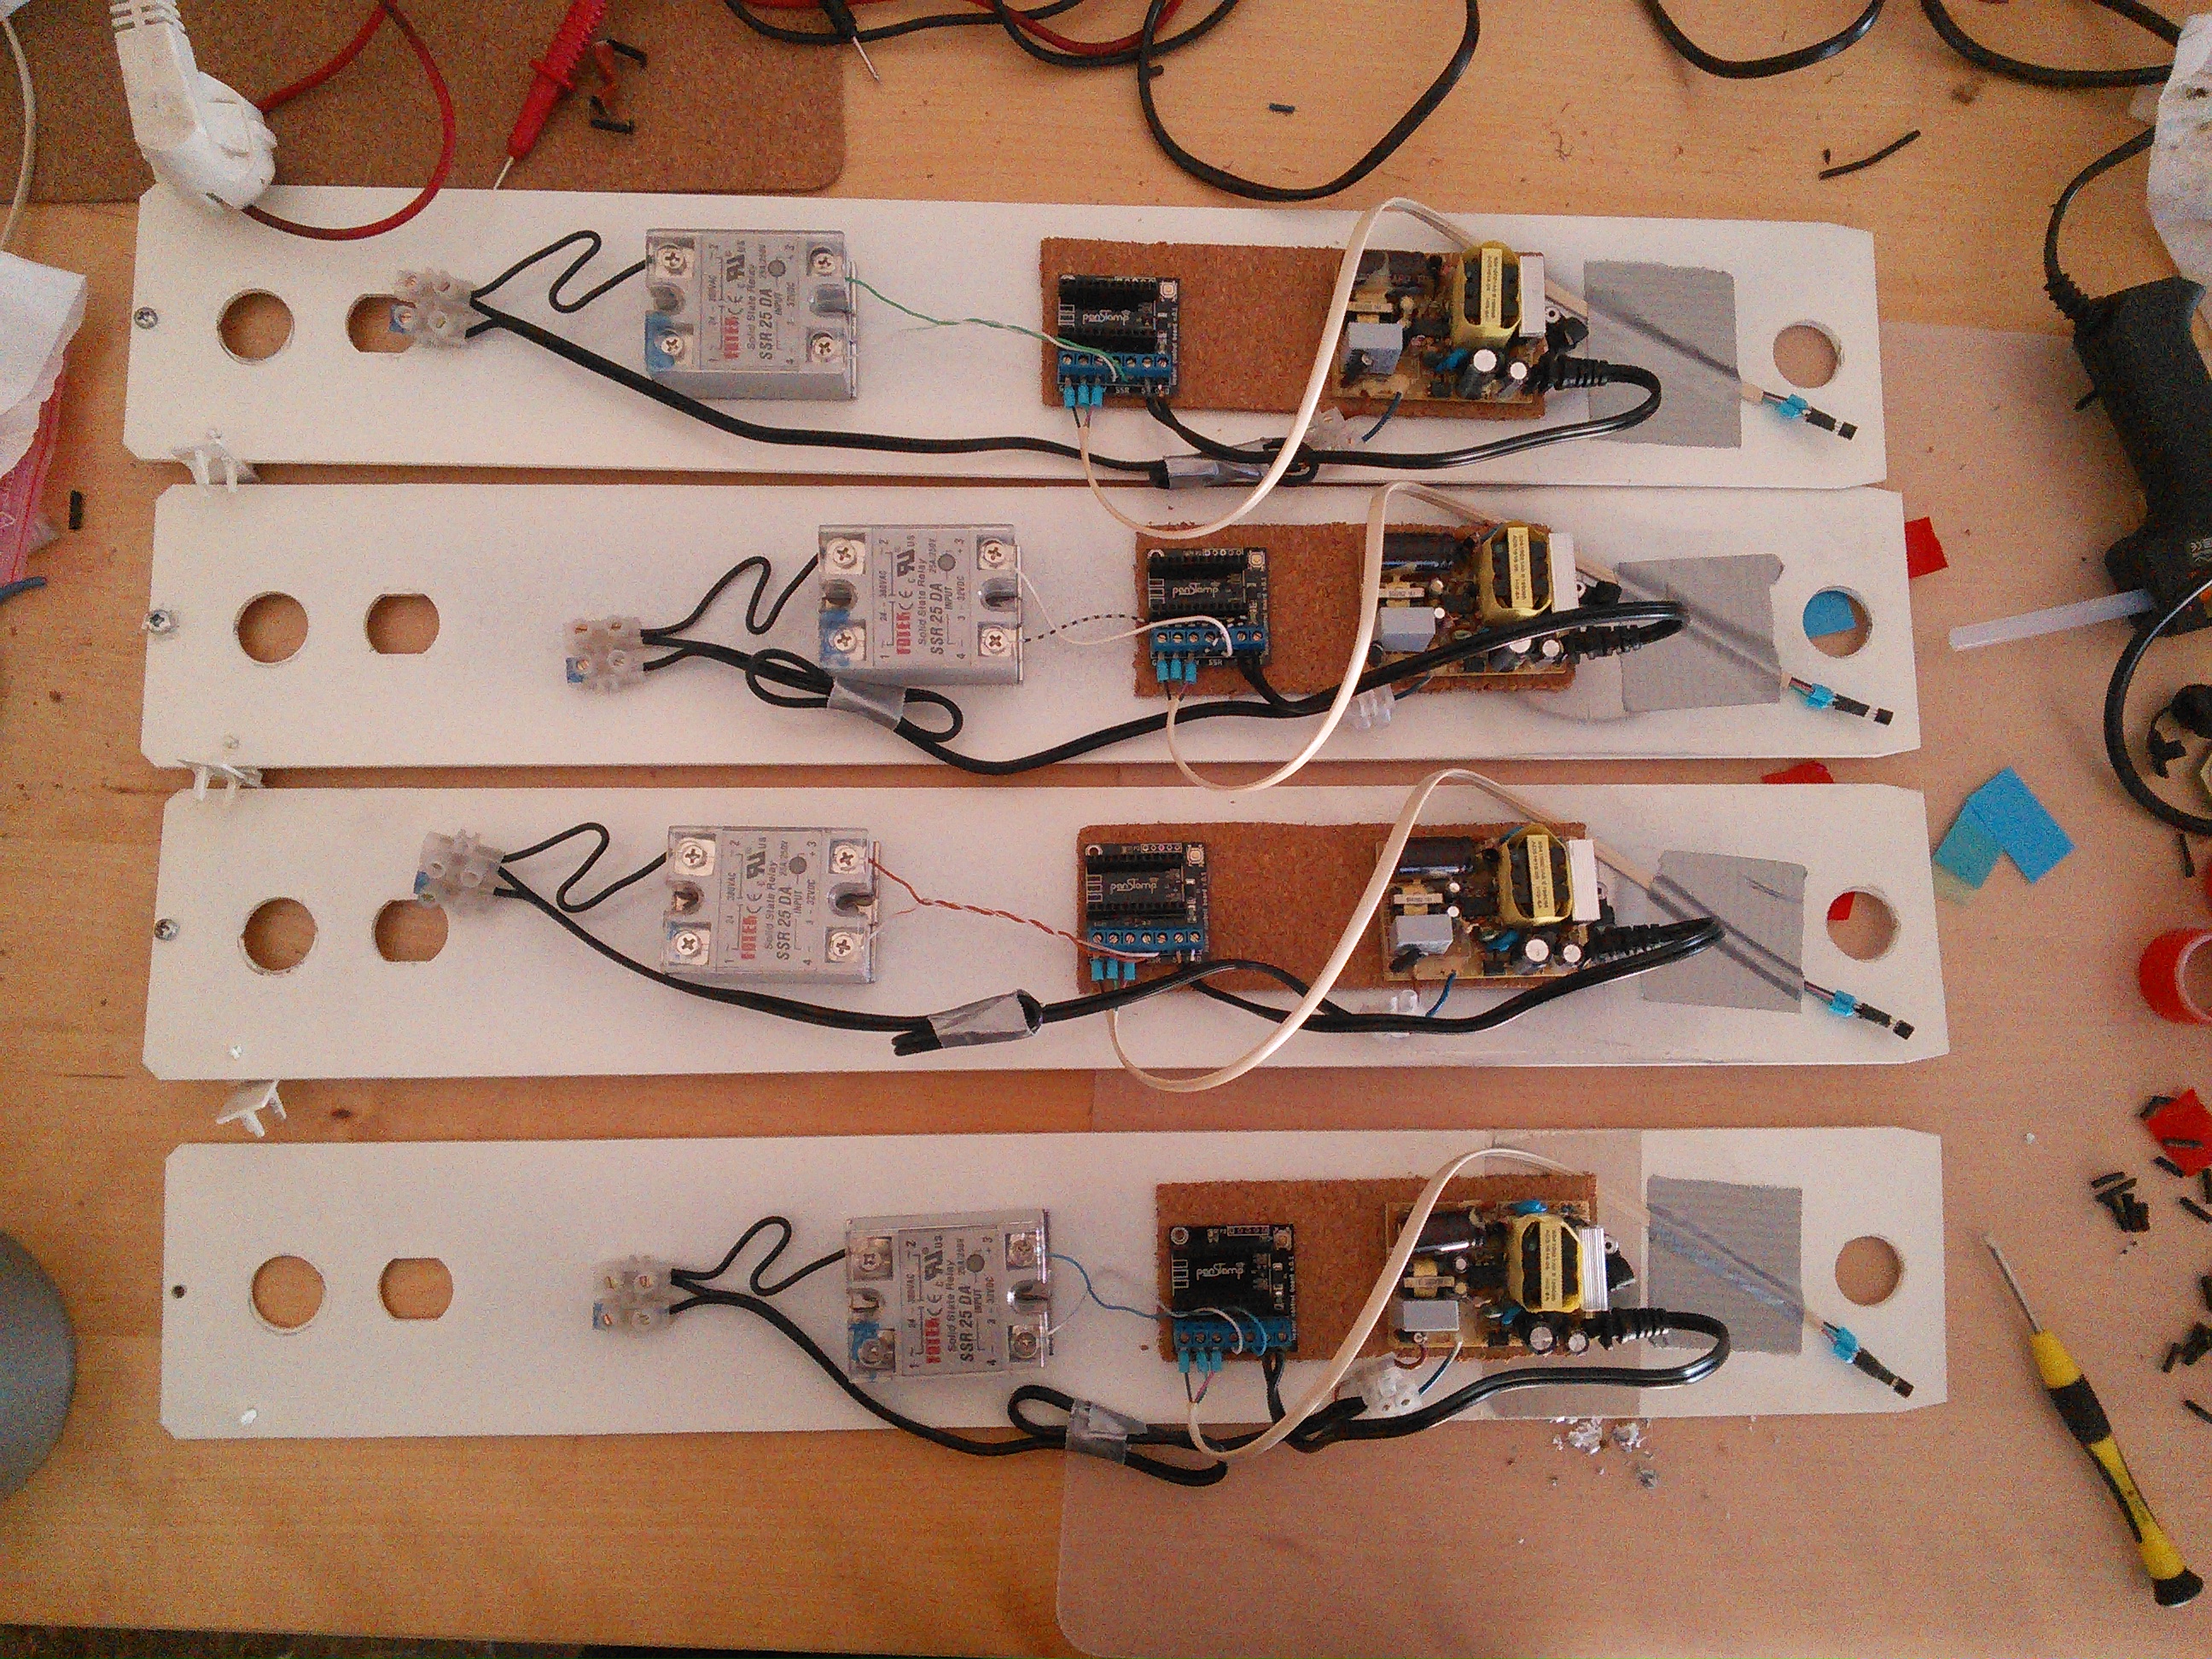
assembling everything on heater side panel
IMG_20130921_173937finally, mounting side panel on the heater
IMG_20130921_133547

Next weeks, I’ll come back with this subject to talk about the software part.

How to get MP3 file from a WebM video

Reading time: < 1 minute Another title for this post could be: "Getting audio from video clips". Because you could do it with MP4 (Mpeg4), WebM, Mov, FLV, etc. We are going to use ffmpeg to that:

ffmpeg -i input_file.webm -ab 128k -ar 44100 out_file.mp3

The meaning of the parameters:

  • ab: the audio bitrate in bps
  • ar: the audio sample rate in hz

And if you have a directory with a lot of files to convert you could use:

find . -name "*.webm" -print0 |while read -d $'\0' file; do ffmpeg -i "$file" -ab 128k -ar 44100 -y "${file%.webm}.mp3";done

Pay attention to “find” and “while read” commands combinations because we want to support files with spaces.

I hope this is as useful for you as for me.

RTMP source to HLS (HTTP Live Streaming) Apple

Reading time: 2 – 3 minutes

I just solved a very specific problem and I have to write some notes here to remember the solution. Given a RTMP source we have to stream the content to Apple devices like iPad, iPhone and iPod because RTMP couldn’t be played using Safari browser.

If we need to play streaming on Apple devices the best solution is convert it to HLS and publish generated files using HTTP server.

To solve this issue I use rtmpdump and vlc. Firstly rtmpdump gets video stream from source. Secondly the stream is sent to vlc and finally vlc transcodes de video and audio and outputs small .ts files and one .m3u8 index file.

The command is something like this:

rtmpdump -v -r "$RTMP" | sudo -u xymon vlc -I dummy fd://0 vlc://quit --sout="#transcode{width=320,height=240,fps=25,vcodec=h264,vb=256,venc=x264{aud,profile=baseline,level=30,keyint=30,ref=1,nocabac},acodec=mp3,ab=96,audio-sync,deinterlace,channels=2,samplerate=44100}:std{access=livehttp{seglen=10,delsegs=true,numsegs=5,index=$M3U8,index-url=$TS_URL},mux=ts{use-key-frames},dst=$TSF}"

Variables descriptions are:

RTMP=rtmp://example.tld/path/stream_id
WD=/local_path
TS=live-####.ts
TSF=$WD/$TS
TS_URL=http://example.tld/path/$TS
M3U8=$WD/live.m3u8

Then create an HTML file, for example live.html, with a reference to .m3u8 file, the relevant code of the HTML file is like this:

<video width="320" height="240"><source src="http://example.tld/path/live.m3u8" /></video>

A simple code to public files via HTTP:

python -c "import SimpleHTTPServer;SimpleHTTPServer.test()"

Then we only need to open Safary browser in Apple device and set the proper URL, in our case:

http://example.tld/path/live.html

IMPORTANT NOTE: the audio output have to be with two channels and a sample rate of 44KHz in other cases the audio fails.

Celery logs through syslog

Reading time: 2 – 2 minutes

Celery logs are colorized by default, the first big idea is disable color logs. It’s as easy as setting ‘CELERYD_LOG_COLOR’ to ‘False’ in ‘celery.conf’. The code could be something like this:

celery.conf.update('CELERYD_LOG_COLOR' = False)

Secondly we need a function where we set up a new handler and other settings to celery logging system. For example, the code could be:

from __future__ import absolute_import
from logging import BASIC_FORMAT, Formatter
from logging.handlers import SysLogHandler
from celery.log import redirect_stdouts_to_logger

def setup_log(**args):
    # redirect stdout and stderr to logger
    redirect_stdouts_to_logger(args['logger'])
    # logs to local syslog
    hl = SysLogHandler('/dev/log')
    # setting log level
    hl.setLevel(args['loglevel'])
    # setting log format
    formatter = Formatter(BASIC_FORMAT)
    hl.setFormatter(formatter)
    # add new handler to logger
    args['logger'].addHandler(hl)

Pay attention to ‘redirect_stdouts_to_logger’ it’s used to send all outputs like print’s or something else to syslog.

Thirdly we want to use those settings in our celery tasks, then we have to connect ‘setup_log’ code to some celery signals. Those signals are launched when ‘task_logger’ and ‘logger’ are configured. To connect signals:

from celery.signals import after_setup_task_logger, after_setup_logger

after_setup_logger.connect(setup_log)
after_setup_task_logger.connect(setup_log)

Fourthly we have to get the ‘logger’, we can have more than one if we are interested in records with task context or without it. For example:

logger = get_logger('just_a_name_for_internal_use')
logger_with_task_context = get_task_logger('name_of_the_task_to_be_recorded_in_logs')

Finally we only have to use those loggers with common methods DEBUG, INFO, WARN, ERROR and CRITICAL:

@celery.task
def the_task():
    logger.info('this is a message without task context')
    logger_with_task_context.debug('this record will have the prefix "name_of_the_task_to_be_recorded_in_logs" in syslog')

Technitium MAC Address Changer

Reading time: 1 – 2 minutes

I just want to share with you a small and powerful Windows tool I found in my last trip to US. The best feature IMHO is that permits to change the MAC address of your NIC interface without rebooting, safely and fast. It could be useful when you have a limit time to connect to internet in a free Wi-Fi network; after changing your MAC address you should be like a new device. If you have to do something like this, remember to remove the browser cookies.

Other interesting features of this tool is network presets. You can change your NIC settings very fast just changing a preset profile. As you can see in next screenshot it has a simple chart of your real time network traffic. And finally I want to stand out you can see all your network devices configuration very fast.

technitium MAC address changer screenshot

Technitium MAC Address Changer home page.

A pair of themes for ExtJS

Reading time: 1 – 2 minutes

I’m a ExtJS JavaScript framework believer, but there other interesting and famous JavaScript frameworks like Bootstrap and jQuery. IMHO ExtJS is more focused on web applications than public web. In this post I want to share two ExtJS themes that helps to improve UI look and feel.

The first one is a bootstrap look and feel for ExtJS:

extjs-bootstrap

if you want to test it take a look to demo site. The theme is opensource and you can find the source in github.

The second and last one is Clifton theme.

clifton-theme

IMHO is a nice theme although it’s not really free. It costs around 320€, but in some professional projects it could be a really low price if you consider the effort to get a professional look and feel . You can try it in demo page.

Send email notifications from supervisord

Reading time: 1 – 2 minutes

There is a package called superlance which listens supervisord events. If you install it with:

pip install superlance

Then it’s very easy to setup supervisord to send emails when a daemon changes the state because of a crash or something else.

Lines to add to supervisord configuration file:

[eventlistener:crashmail]
command=/usr/local/bin/crashmail -a -m email1@example.com
events=PROCESS_STATE

if you want to send notifications only for some applications:

[eventlistener:crashmail]
command=/usr/local/bin/crashmail -p program1 -p group1:program2 -m email1@example.com
events=PROCESS_STATE

Of course, superlance can listen many different event signals from supervisor and can take different actions like call to HTTP URL or send SMS. I want to recommend you to take look to the package documentation it could be useful to understand all the superlance power.

Relay mail from your server without MTA

Reading time: < 1 minute Sometime you need to send notifications or simply you need to use sendmail command from your server, but you don't want to use a local mail server. Maybe use simple SMTP (ssmtp) could be a good idea to solve this kind of situations. I use to configure SSMTP with a GMail account to send notifications from server different daemons, for example, crontab, supervisord, etc. This is a cookbook configuration for SSMTP and GMail: /etc/ssmtp/ssmtp.conf
root=user@gmail.com
mailhub=smtp.gmail.com:587
rewriteDomain=
hostname=user@gmail.com
UseSTARTTLS=YES
AuthUser=user@gmail.com
AuthPass=password
FromLineOverride=YES

/etc/ssmtp/revaliases

root:username@gmail.com:smtp.gmail.com:587
localusername:username@gmail.com:smtp.gmail.com:587

Installation in ubuntu server is as easy as: apt-get install ssmtp