Scripted Grafana dashboards
Reading time: < 1 minute A few minutes of video for explaining how to create dashboards on Grafana using Javascript code:
The code used for hello world script is available as a gist.
Reading time: < 1 minute A few minutes of video for explaining how to create dashboards on Grafana using Javascript code:
The code used for hello world script is available as a gist.
Reading time: 3 – 4 minutes
 Some weeks ago I finished this course from MIT. My ideas was have an overview of the IoT market from an external point of view. In the end I’m a little bit disappointment because the course was more focused on talking about general ideas with a lot of references of internal projects about IoT on universities, mainly MIT as you can imagine. I don’t know how those it work in The States where the companies are by far bigger than in Europe, but in my humble experience it’s very difficult to approach to a company talking about experimental technologies, or whatever which is not properly supported by another company. This is the language of business that I experimented in my professional career.
A part from that I want to remark that technical contents are presented by very important people in different areas of technology. But when it was time to talk about technical details the things changed a lot depending on the teacher, some teachers where lost on completely usefulness details of a completely unknown technology and others don’t go deep enough on basic specs of basic technologies.
Sadly the block where I want to contrast my point of view with others, the Architecture, was focused on completely different approach that I expected. I didn’t find any reference from architecture reference models (ARMs) of the IoT platforms, for example. Minor references to important transport protocols like CoAP, or MQTT. Both of them important standards from IETF and OASIS/ISO, respectively.
Another disappointing part is the security chapter, most of the content is focused on securing hardware to the most deep and complex parts. And practically no information referring to Internet security, or data transportation. Nothing about certificates, blockchains, or whatever other solution to improve most of the security problems in real IoT today. May be hardware security is important for some companies but usually this is not the most concerning part from most of companies today.
Sorry but from my humble opinion, the course is not well-focused and if I have to be honest with you I felt sleepy more than once when I watched some videos. A part from that, the assessments at the end of chapters are a waste of time because they try to check if you followed the explanations with simple question that you can answer looking video transcriptions. Only forums and course mates are good points, but old fashion user interface of the learning platform don’t allow you to enjoy the conversation threads.
After more than 16 years writing blog entries in my site I’ve never did so bad review of anything but I have to be honest with my feelings with the course, and I want to call for apologies to all the people who spent a lot of energy preparing materials for the course.
Luckly the cost of the course is only $495, but nobody likes to spent that amount of money for not being satisfied. Before closing the post, just a link to the course: Internet of Things: Roadmap to a Connected World.
Reading time: < 1 minute The steps that explain how to install Homie libraries and its dependencies on the official documentation are a little bit tricky and some of you asked me about how I did it. So I decided to record a clip explaining the steps:
Please tell if it was useful for you, and thanks for your interest.
Local copy of the video:
Reading time: < 1 minute Finally I have the chance to share with you the video of the conference that I gave some months ago. Remember it was about my low cost home automation systems, may be the most interesting thing will be that most of the presentation is a real time demostration aobut how I create those systems.
If you want to take a look of the presentation slides:
I hope it was interesting, or useful for you.
Reading time: < 1 minute In this video I describe deeply a convention called "Homie“; thanks to that we have a set of rules and assumptions very useful when a firmware device is created and/or an IoT platform have to be configured to support those devices. I love that convention and I used it during my demonstration scenario in Lviv IT Arena.
After this video I’ll follow a series of some other videos, describing how to develop devices following Homie conventions.
Official documentation of the convention can be found in the Github Homie project.
Reading time: 2 – 2 minutes
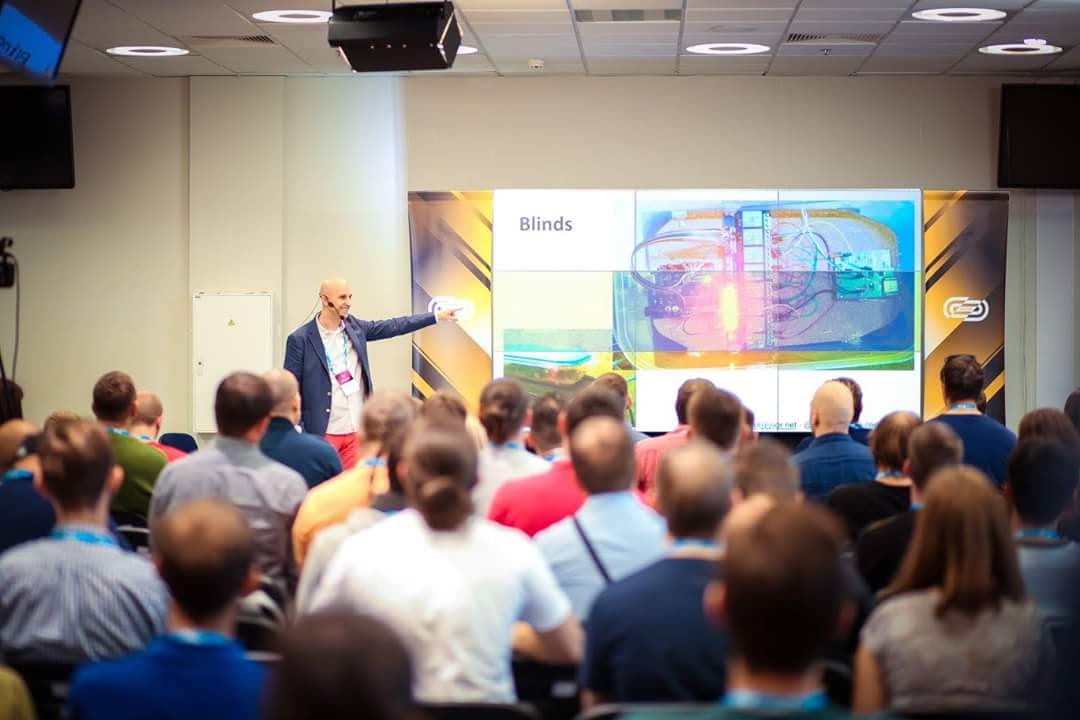
Last weekend I talked on IT Arena event organized in Lviv (Ukraine) at Lviv Arena Stadium created for the Football Eurocup of 2012. It was a very good and well organized event, it was a privilege to participate. I gave a presentation about the automation’s that I created latest years at home thanks to the open software and open hardware. The second part of the presentation was a demonstration about how to set up some IoT devices created ad-hoc.
If you want to review the slides, they are available at slideshare.
Conference was recorded but for a while I don’t have the video clip, if I can get access to the video I’ll upload it to youtube and referenced here. Anyway I created a photo album that you can review in LVIV trip pictures photo album.
Finally I want to give thanks to Mykhaylo Kramarenko because thanks to his invitation I had that great opportunity. Thanks to Marta Maksym to take care of my trip and accommodation. Thanks to organizers for the 3G SIM card with data and free calls, next time a micro-SIM card will be perfect for my mobile phone XD and last but not least a lot of thanks to Denis Kolesnikov for his guided visit to the Lviv center, really nice place I’ll go back to visit it properly.
Main target of this post is describe how to organize flash partitions and how to modify default OpenWRT boot sequence to support a flexible and powerful rescue mode for Raspberry PI based projects. Just to clarify the explaination. When OpenWRT is build on a flash card for Raspberry, there are only two partitions.
The first one is vFat partition with kernel, firmware and other configuration files; the second one is a ext4 partition with root filesystem. Boot sequence loads the kernel and then mount root partition and run the init script. If ext4 filesystem is corrupted or could not be mounted boot sequence is stoped and there is no solution without extracting the flash card.
In this blog entry I’m going to describe a partition table and boot sequence strategy to avoid this kind of problems. Of course, there are other solutions to get similar results but I think this one is simple and powerful at the same time.
Summarizing features of this solution:
This solution proposal assume:
Raspberry PI requires a vfat partition as its first flash partition where there are several required files for booting process, this is a bootloader substitution. For example, in that partition there are files like: start*.elf and bootcode.bin which are the GPU firmware and bootloaders. Another key file is kernel.img; this is the kernel used for booting. Bootloader parameters for kernel booting are in a file called cmdline.txt and firmware parameters are set in config.txt.
At this point the most important think to take into account is kernel.img file and cmdline parameters. Because kernel is loaded and executed by default with cmdline parameters set. When kernel boot process finishes root filesystem and init process sequence will be figured out from cmdline parameters.
At this point take a look on proposed partition table could be useful: (spaces are just as a reference, use what you need)
p1 - vfat (~50MB)
p2 - ext4 - operative system base (read-only) (~150MB)
p3 - ext4 - operative system (read-write) (~250MB)
p4 - logical partition
  p4.1 - ext4 - your_application files (usually read-only)
  p4.2 - ext4 - your_application data (usually read-write)
Fail-safe boot process key is partition p2 where a minimal OpenWRT installation with a modified init sequence is found. Main idea here is detect if a GPIO shortcut is done, usually this is done just pressing a physical button and you can interact with the user emitting some beep, for example, you can tell the user when you are waiting for button press using a beep and then emit two beeps when button press is detected or nothing if no button is pressed in 3 seconds. Finally the idea is detect if you need a regular boot or a fail-safe boot.
My suggestion for minimal OpenWRT is a small footprint installation of OpenWRT without kernel modules, just the monolitic kernel loaded. Then reduce init sequence to the minimum and add fail-safe logic (GPIO button capture); if button is pressed stop boot sequence and give a shell to the user. Regular way will be invoke init file of the rootfs (p3 in the partition table).
I think the idea is simple and the complexity is reduced in two parts both of them are the init file. To be more precise the p2 partition table has its own init file and p3 the other one. p2 init file load the minimum hardware to control button and give rescue environment when it’s needed. And p3 init file mounts read-write partition and the regular filesystem with regular boot processes and all kind of stuff that you need.
I know this is not a very practical post, but my intention is only share some ideas that I have in mind. I spend most of my time designing architectures and I think this is a very powerful architecture of a boot sequence for some professional projects based on Raspberry PI and OpenWRT.
The best way to do what I describe in this post is putting p2 in a initrd file which is referenced in kernel parameters. Because then all read-only system is a RAM partition and rootfs init file has the PID 1 dropping dual-init file complexity. But I decided to modify this part because in the past I had some problems creating initrd files specially when required space for that partition is bigger than RAM. Anyway it’s important to take in account that initrd files has the same purpose as the proposed p2 partition.
Reading time: 1 – 2 minutes
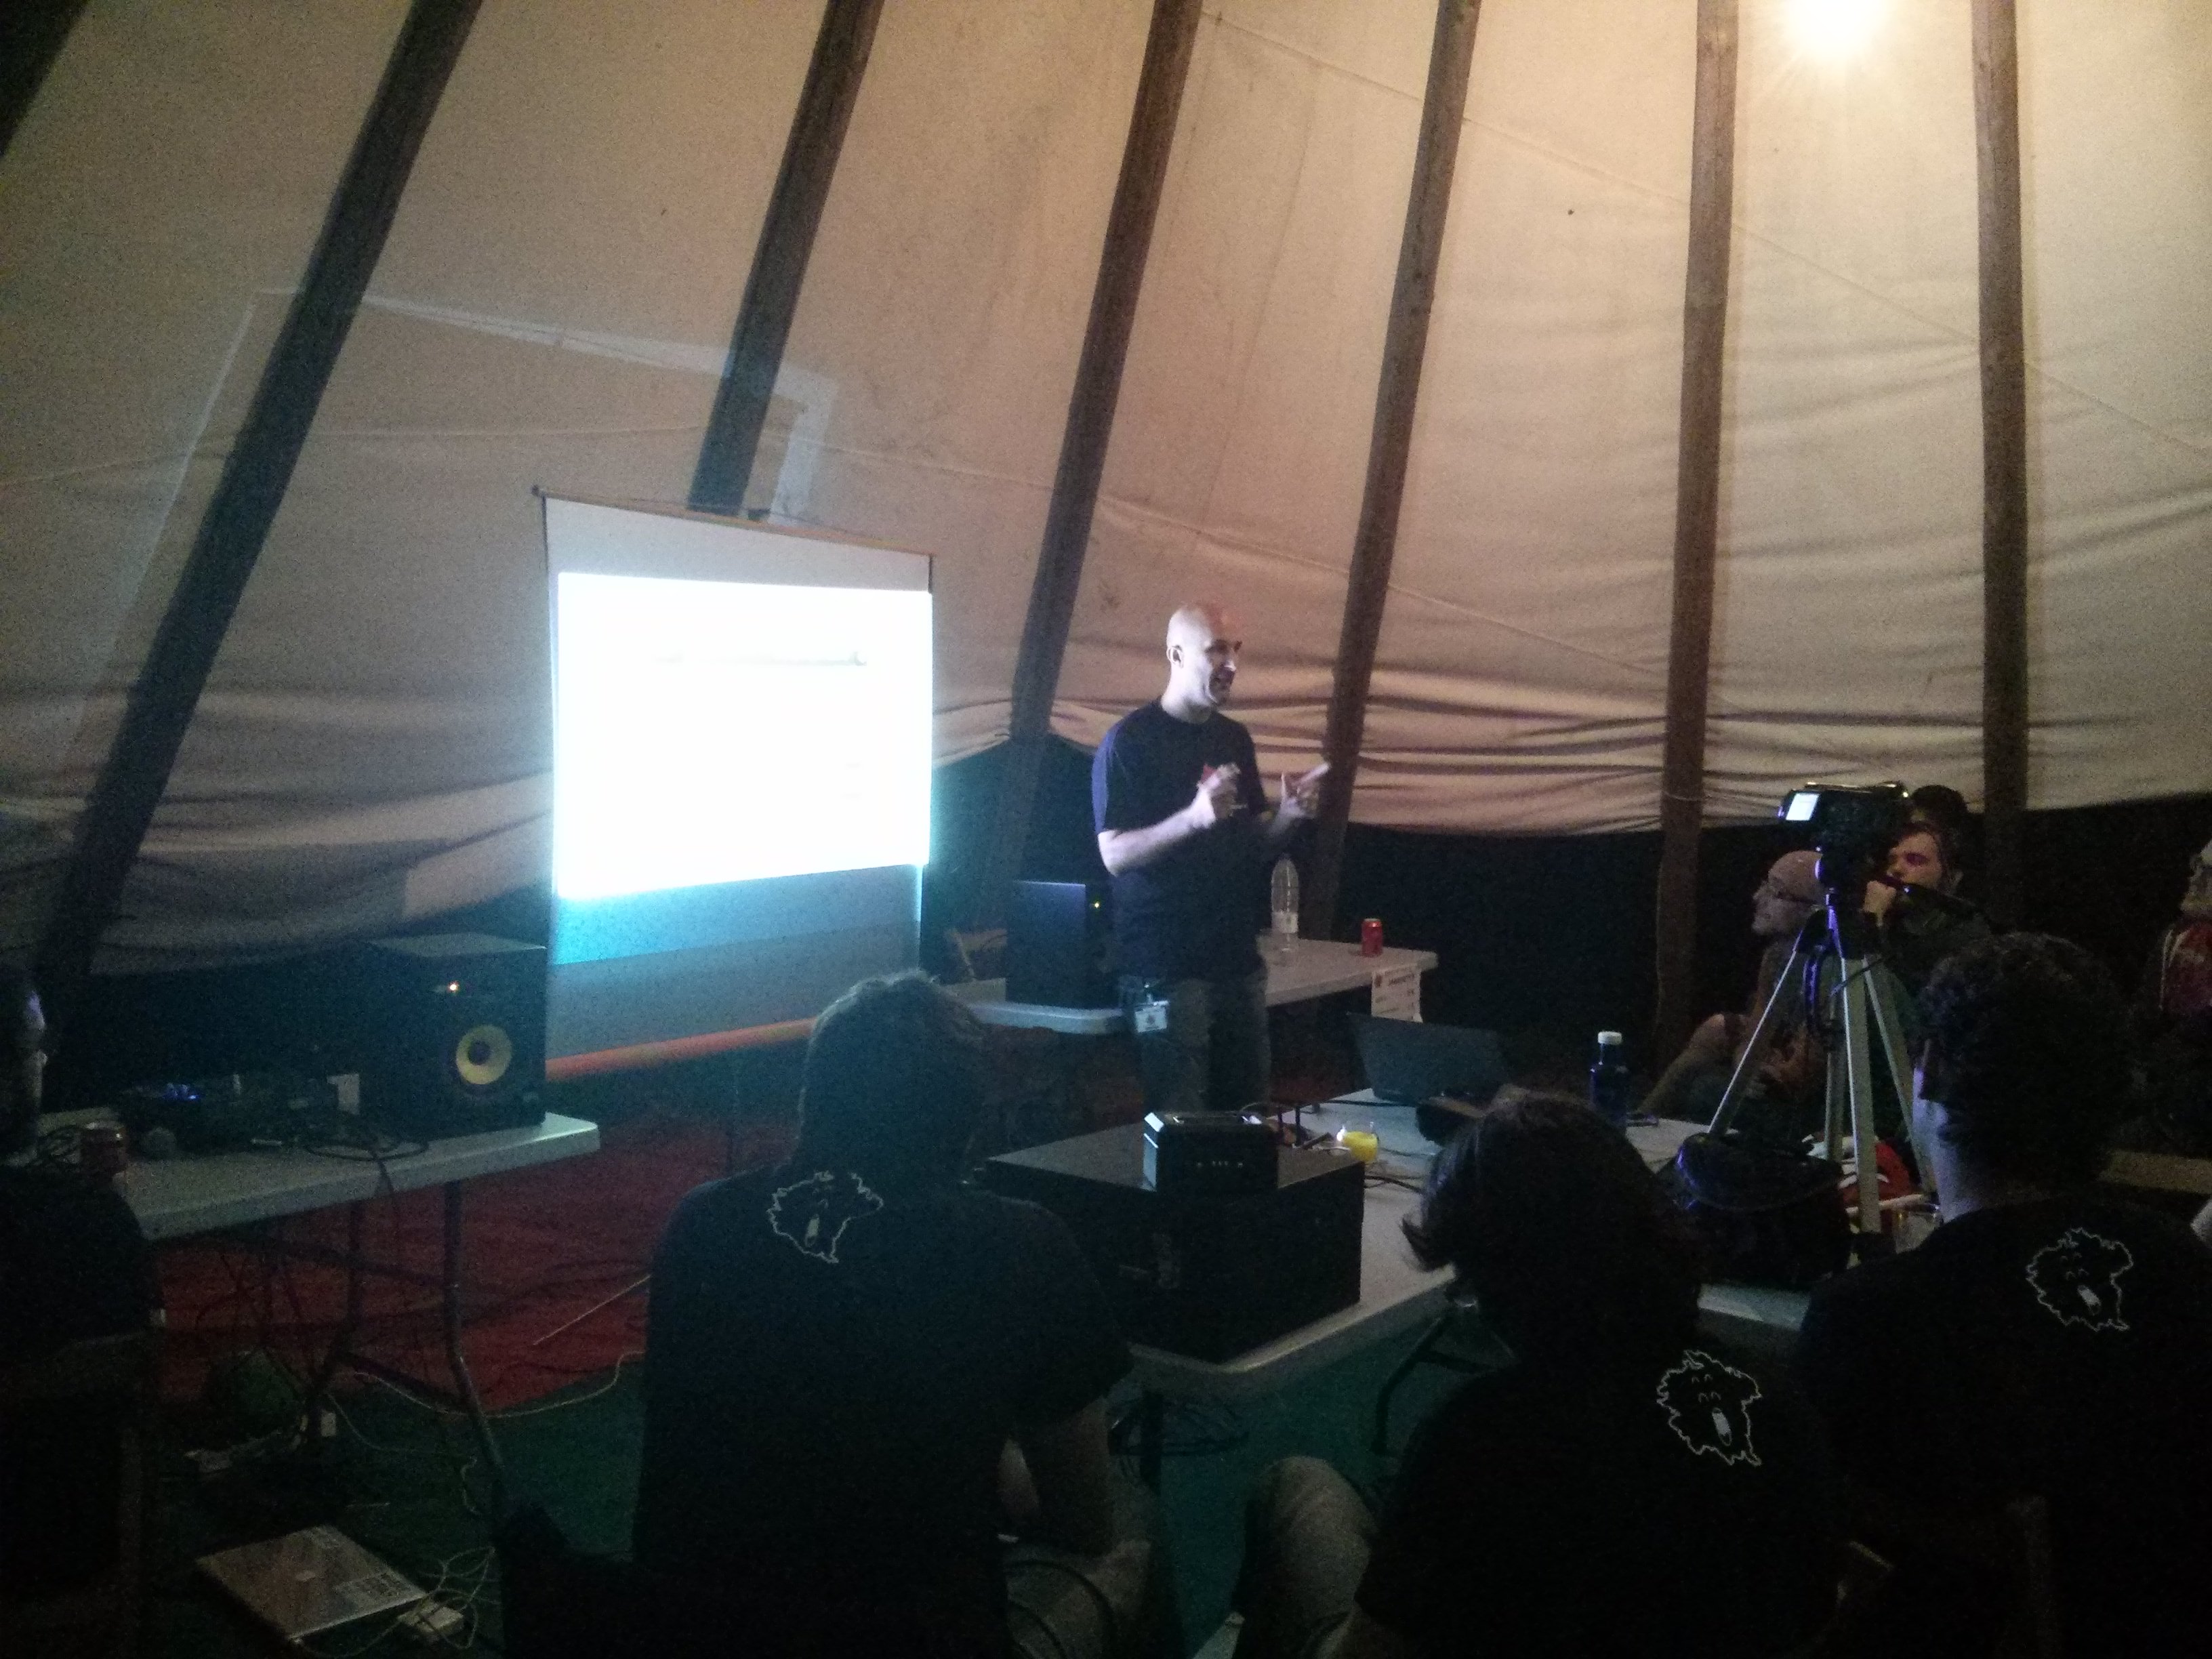
Aquest cap de setmana vaig tornar a donar la meva conferència sobre “SmartHome” en aquesta ocasió vaig introduïr la novetat del sistema de feedback basat en “Tasker + Auto-notification”, a més de l’execusió de tasques basades en “crontab”. També he inclòs un petit avanç sobre el nou projecte en el que estic treballant per tal d’integrar les dades del descalcificador dins del OpenHAB usant una webcam i OpenCV per processar les imatges optingudes.
Agraïr al Xavi, Gerardo i la Laura per haver-me donat aquesta oportunitat. Tant el SCG15 com el SAX2015 són events molt familiars a més l’entorn és espectacular. Tot un descobriment del que malgrat tenir referències no havia pogut disfrutar en primera persona.
Reading time: 1 – 2 minutes
I did this conference twice but this time it’s in English as I said before in Catalan, this is how I’m getting real a childhood dream. Thanks to open hardware like Arduino and Raspberry PI and open source software like OpenHab I have a smarthome with several automations. Last Thursday I spoke in “IoT Barcelona meetup” sharing my personal experience automating my house.
If you lost it and you want to watch the presentation video is here:
and the presentations slides are here:
Reading time: 1 – 2 minutes
El dia 12 de febrer al vespre vaig fer una conferència a la FIB (Facultat d’Informàtica de Barcelona) dins de la UPC (Universitat Politècnica de Catalunya). En aquesta xerra vaig estar explicant com vaig convertint en realitat un somni que vaig tenir quan era petit, estic parlant de domotitzar la casa. Gràcies a enginys com l’Arduino i la Raspberry PI a més d’aplicacions com l’OpenHab podem fer assequible allò que si anem a grans marques comercials es fa caríssim pel meu pressupost.
En aquest enllaç podeu trobar les transparències de: SmartHome usant Arduino Raspberry i més i el video el teniu disponible al servidor de la FIB.
Ara també teniu disponible el video a youtube:
i podeu veure les transparències des d’aquest mateix post:
Espero els vostres feedbacks als comentaris, desitjo que ús sigui útil.