Python meetup Barcelona presentation: Heating system using Panstamp and Python
Reading time: < 1 minute Last Thursday I was presenting my home heating system at Python Meetup Barcelona.
Next you can see the video of the presentation and the slides.
Reading time: < 1 minute Last Thursday I was presenting my home heating system at Python Meetup Barcelona.
Next you can see the video of the presentation and the slides.
Reading time: < 1 minute Clicking the next link you can get my github repository with the firmware of my home heaters. The code is very simple but useful as we tested last winter at home.
I know all the public documentation is not enough to duplicate my heating project. I’m so sorry but I have a lot of pending home projects to do because I have a lot of under construction things. If you need some help to understand what I have or how to do something feel free to ask.
Reading time: 1 – 2 minutes
Ahir al vespre vaig fer una conferència a la FIB (Facultat d’Informàtica de Barcelona) dins de la UPC (Universitat Politècnica de Catalunya). En aquesta xerra vaig estar explicant què és i en que es diferència Arduino i Raspberry PI. A més de presentar tot un conjunt de solucions alternatives i experiències en el tema.
En aquest enllaç podeu trobar les transparències de: La revolució dels mini-PC: Raspberry PI, Arduino i més. i el video el teniu disponible al servidor de la FIB.
Ara també teniu disponible el video a youtube:
i podeu veure les transparències des d’aquest mateix post:
Espero els vostres feedbacks als comentaris, desitjo que ús sigui útil.
Reading time: 3 – 5 minutes
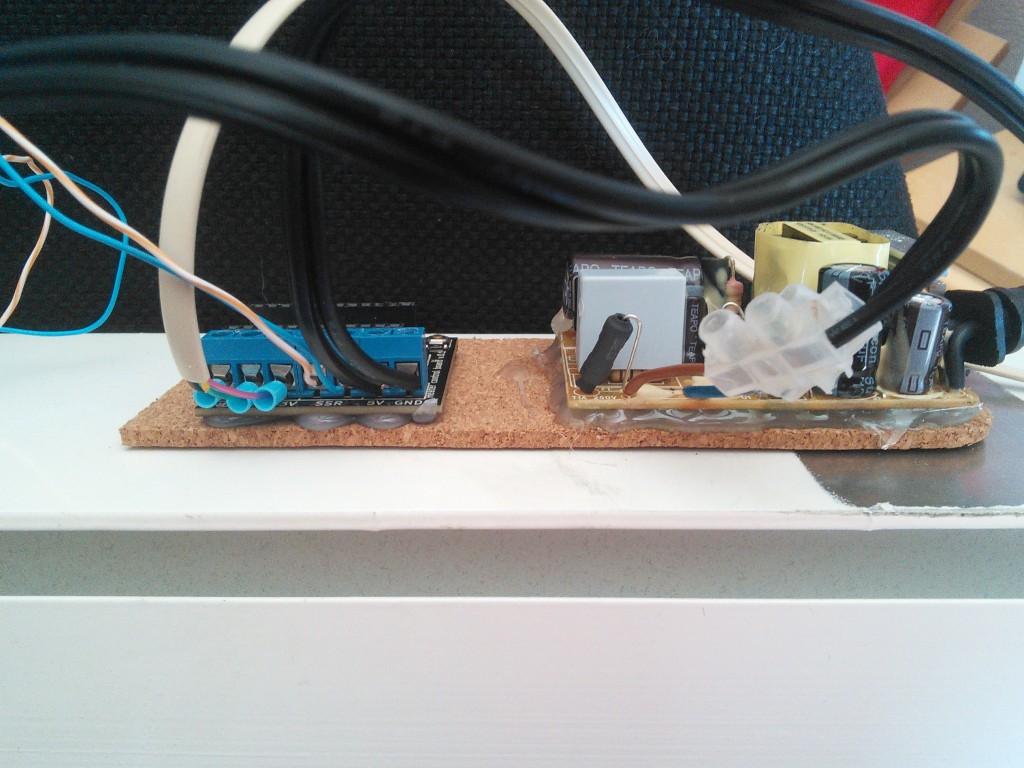
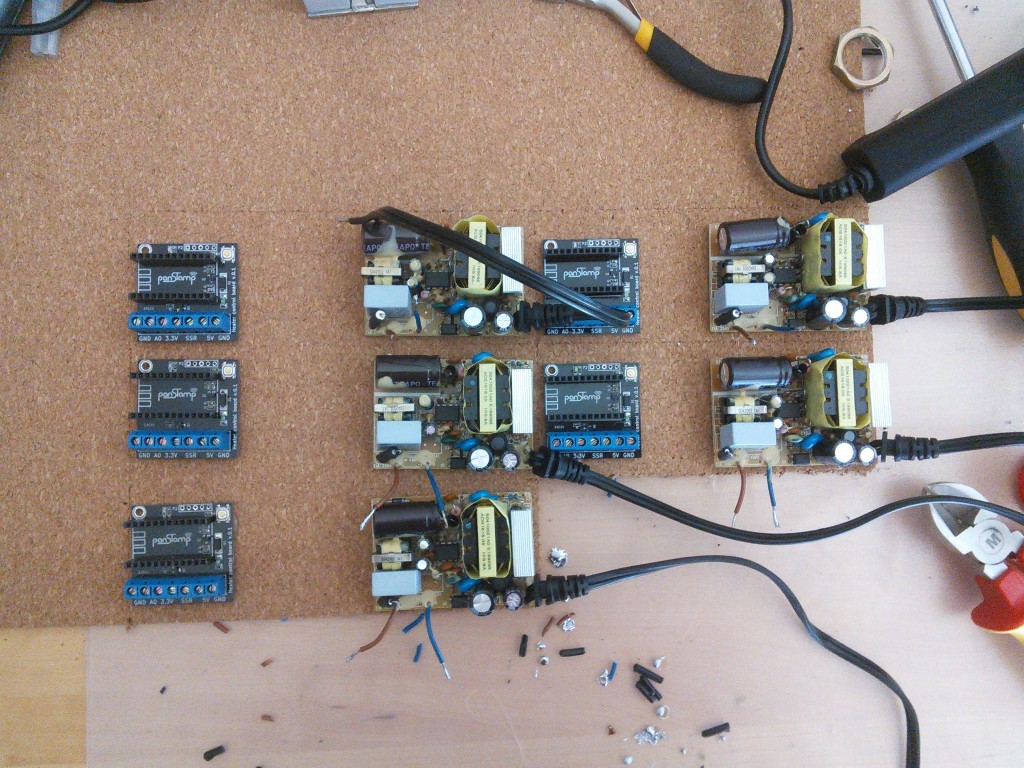
Last weekend I worked on setting up home heaters using Panstamp. Panstamp is an Arduino board with Texas Instruments radio. Next winter we’re going to control our home heater using connected internet devices like the laptop, tablet o mobile phones. In this post I only want to share some pictures about the process to install the electronics inside the heaters changing the old electronic boards with new custom ones.
The parts:
The process:
I used a lot of tools, because DIY aren’t my strong hability.
Double-head tape and hot-blue gun are need…
because I want to use a cork base under the PSU and PCB
 Parallelization of the last process
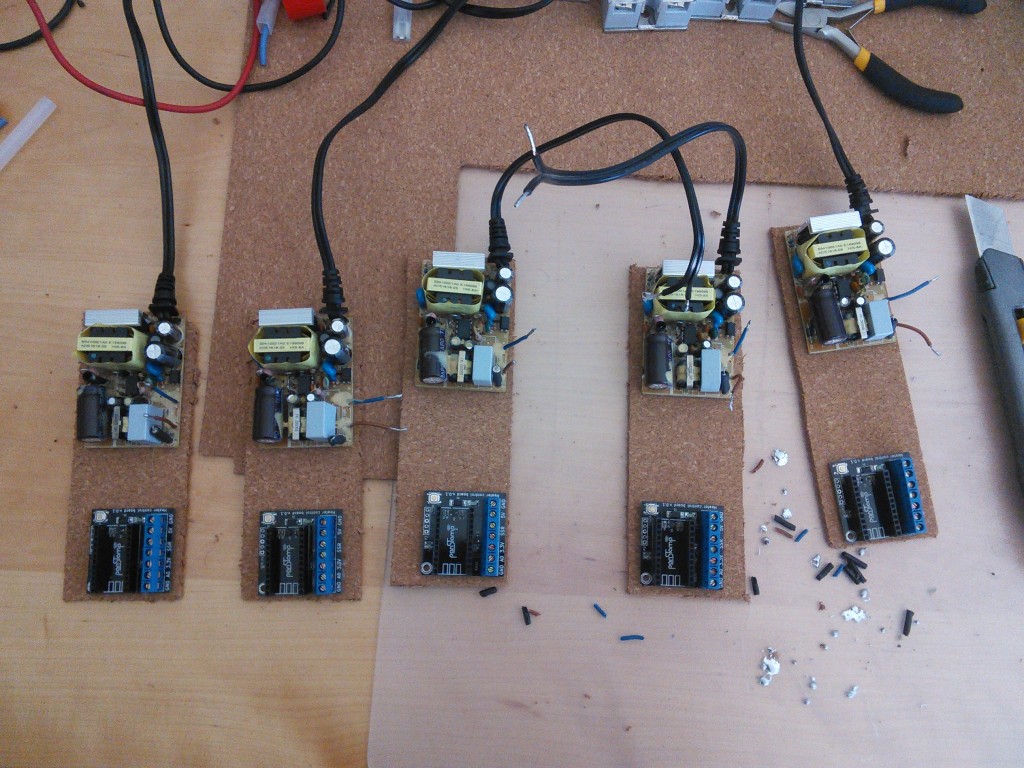
 Using a cutter I got the units
 SSR setup
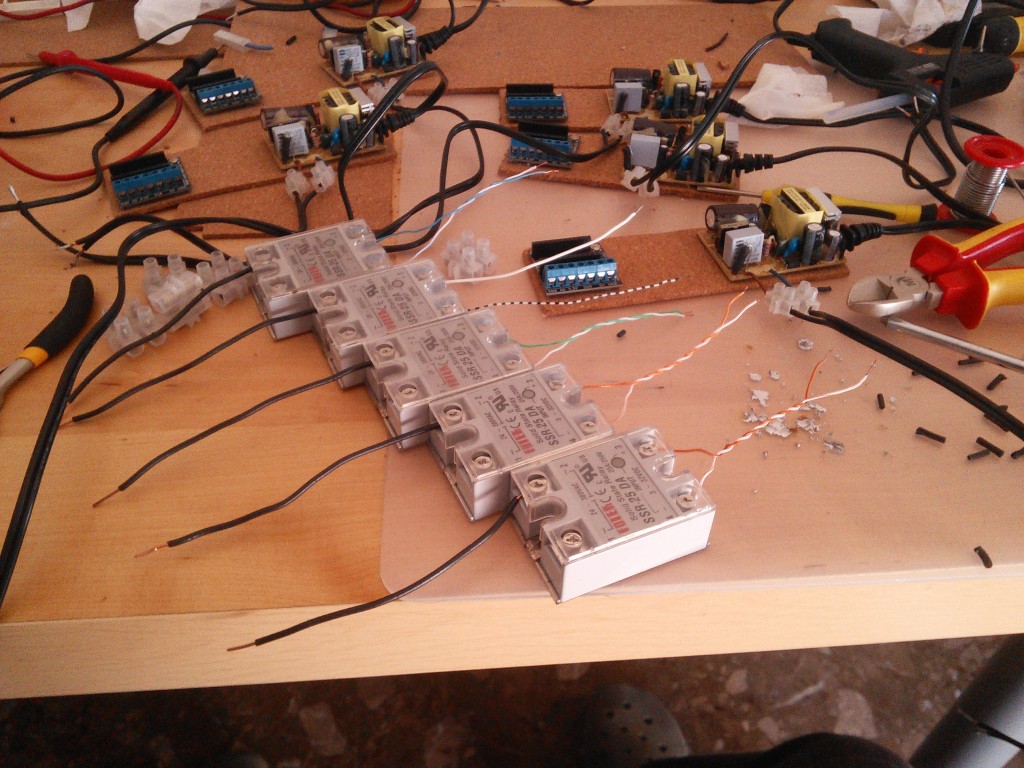 connecting SSR, PCB and PSU
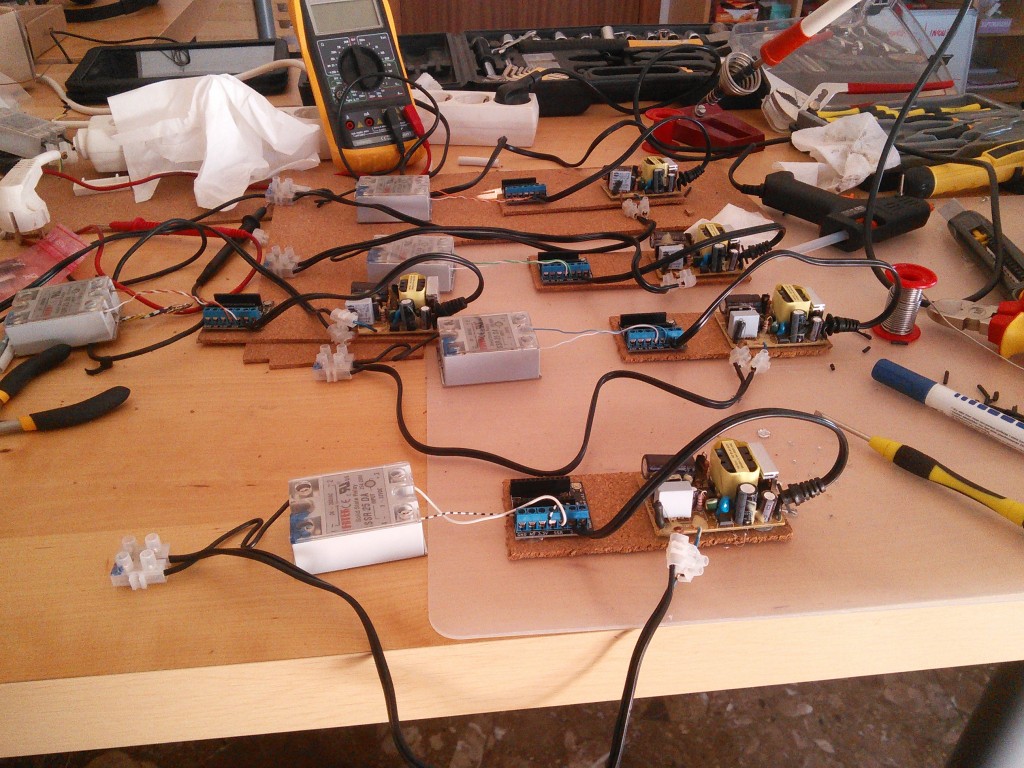 assembling everything on heater side panel
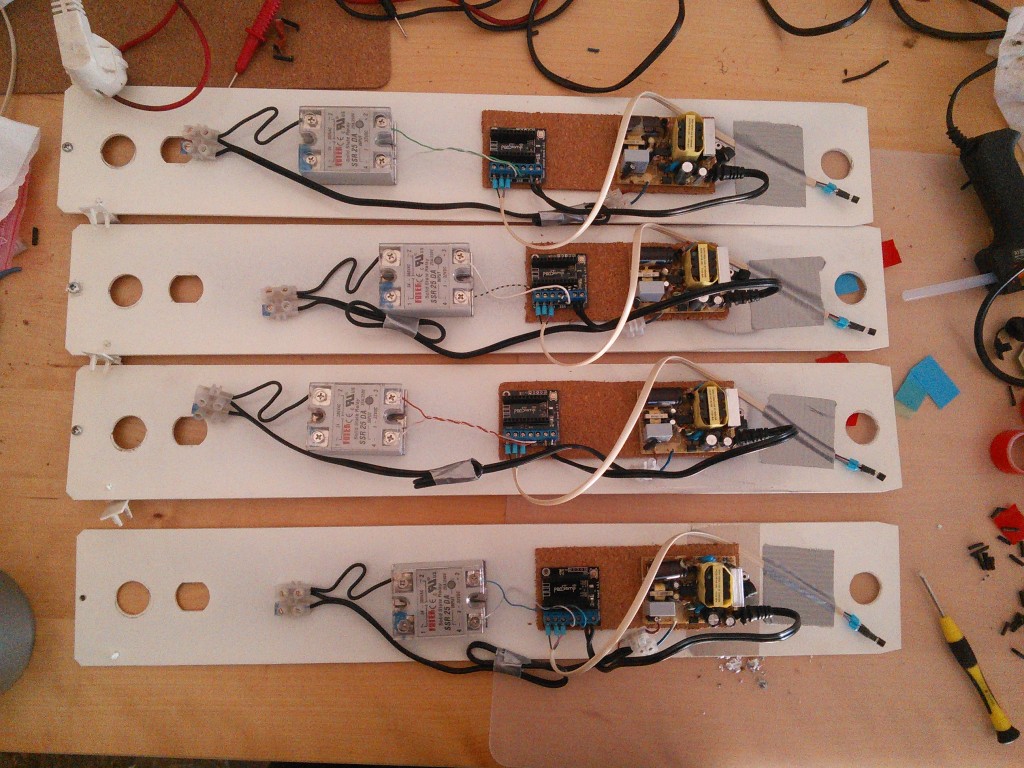 finally, mounting side panel on the heater
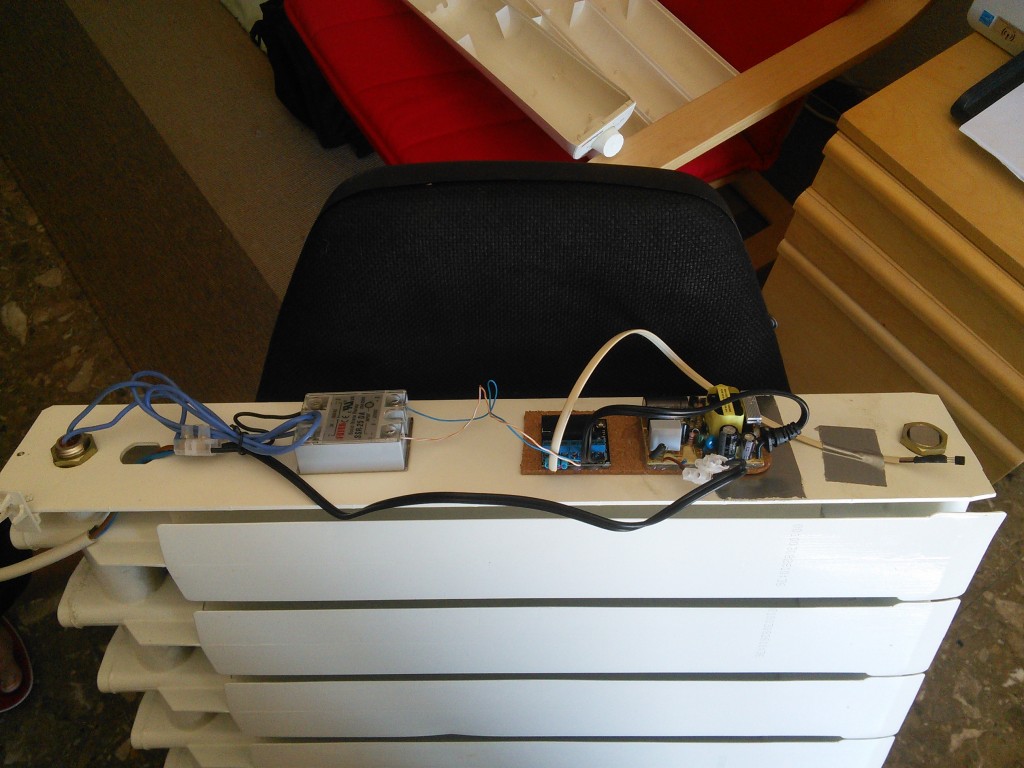
Next weeks, I’ll come back with this subject to talk about the software part.
Reading time: < 1 minute